Georgie Kennett
Major Project
Making the Wig
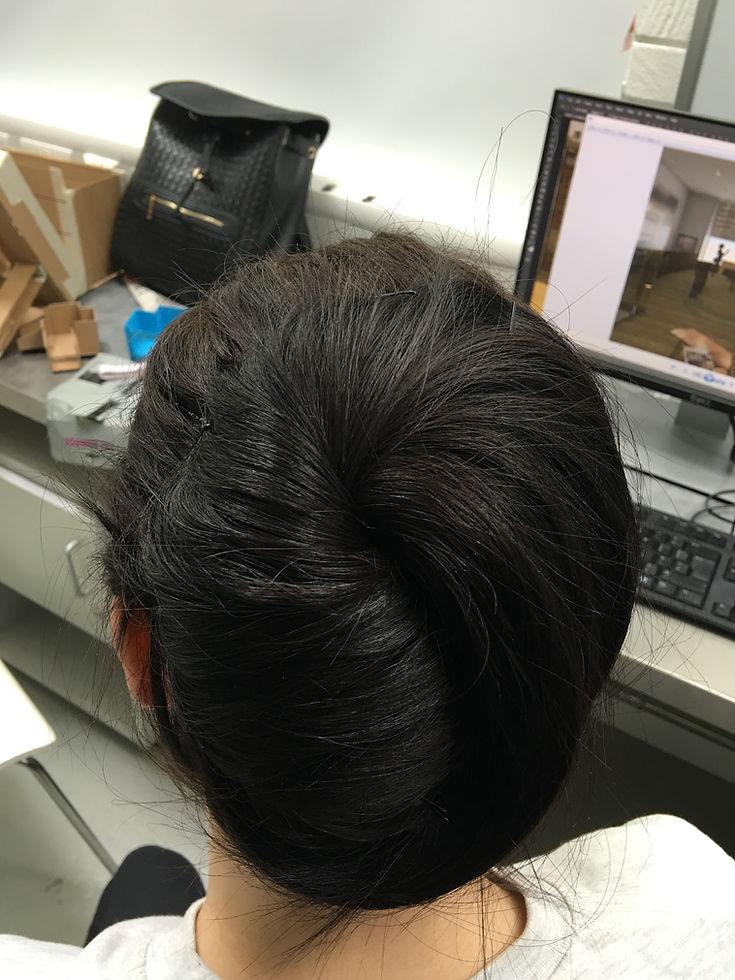
First step in making the wig was measuring the models head.
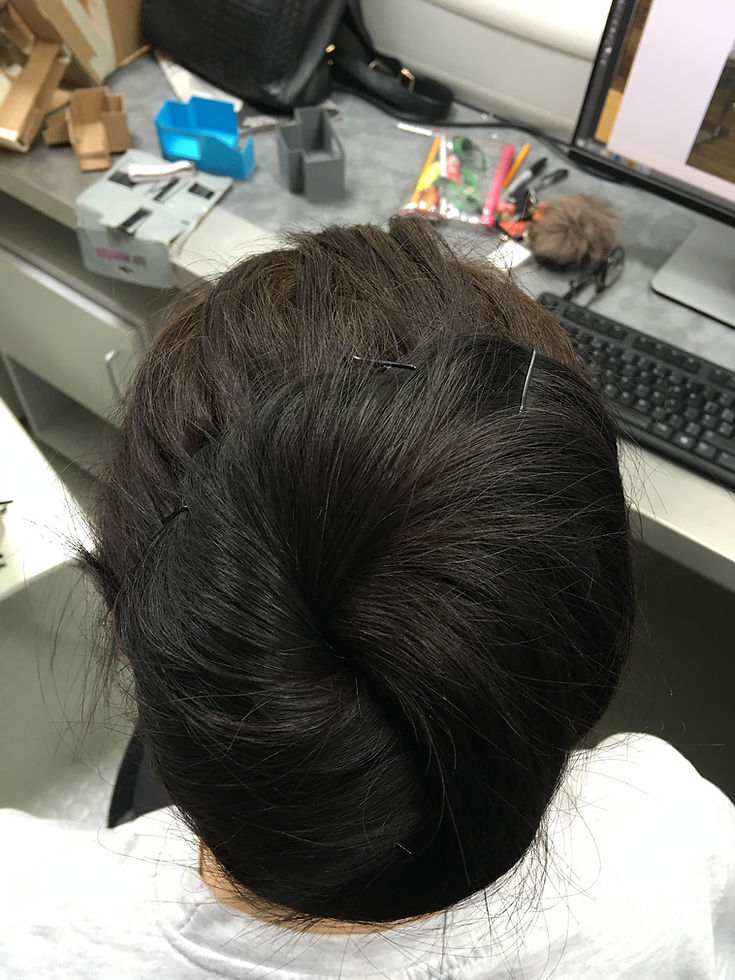
This is done by either wrapping, plaiting or pin curling the hair (there are other ways if the hair is shorter) this is so the hair fits under the wig securely when it has been made.
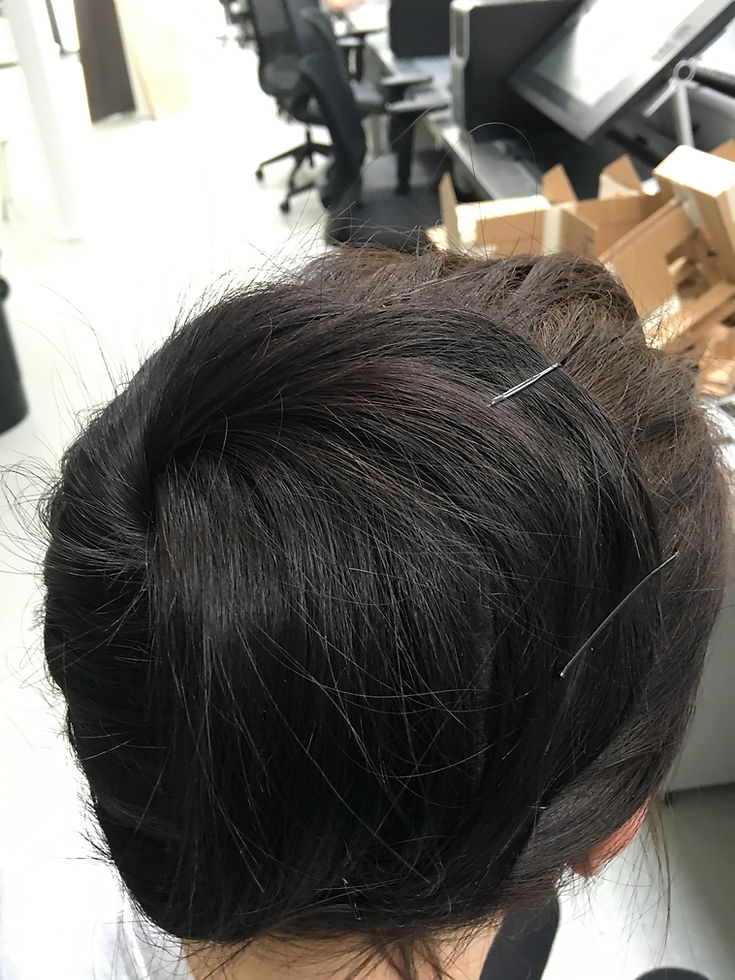
I wrapped the hair to take the template but I did regret doing it this way because it was more difficult to see the hairline I should have plaited the hair instead.
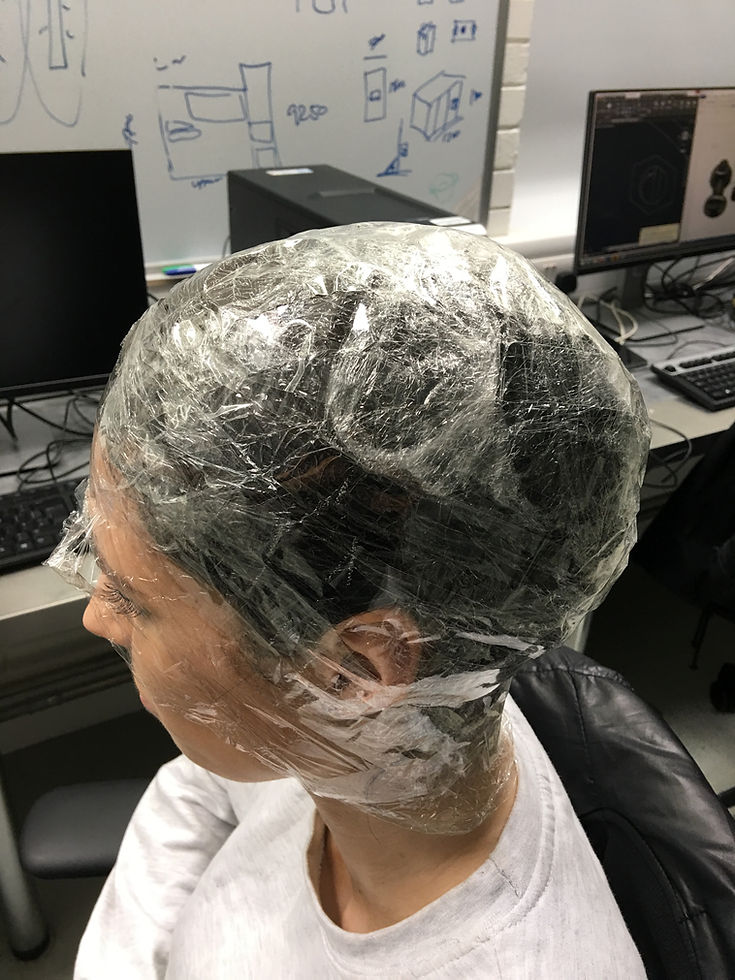
Once the hair is wrapped it is then important to wrap the head with cling film as this is the basis for creating the head measurement cap.
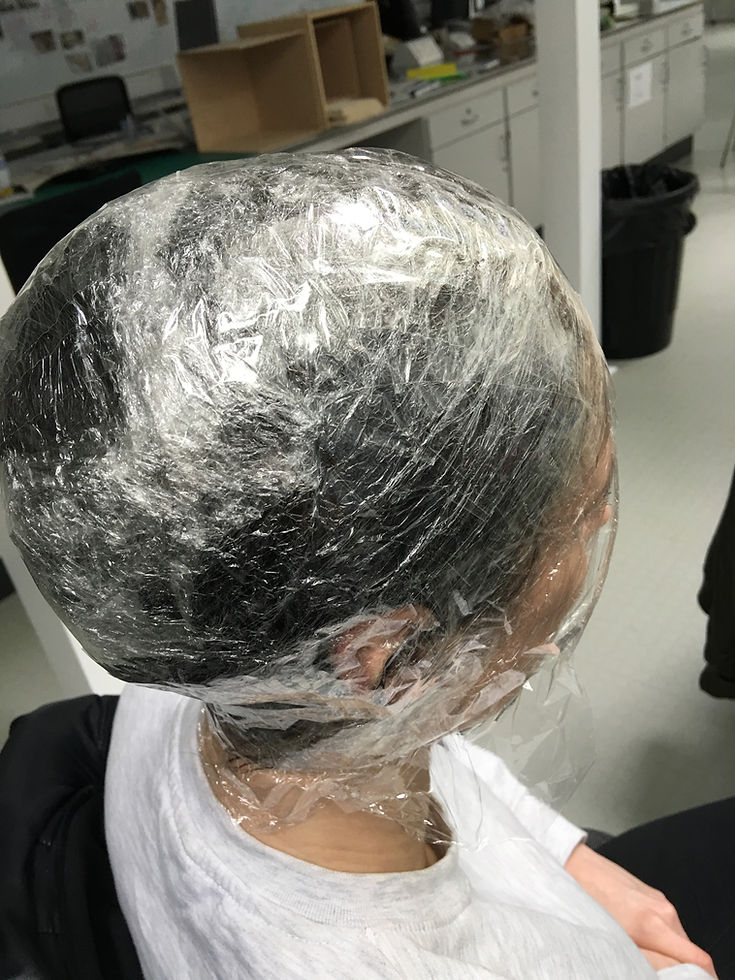
The hair should be at its bulky-est around the crown area so there is no gap between the neck and the wig and there isn't any bulging anywhere.
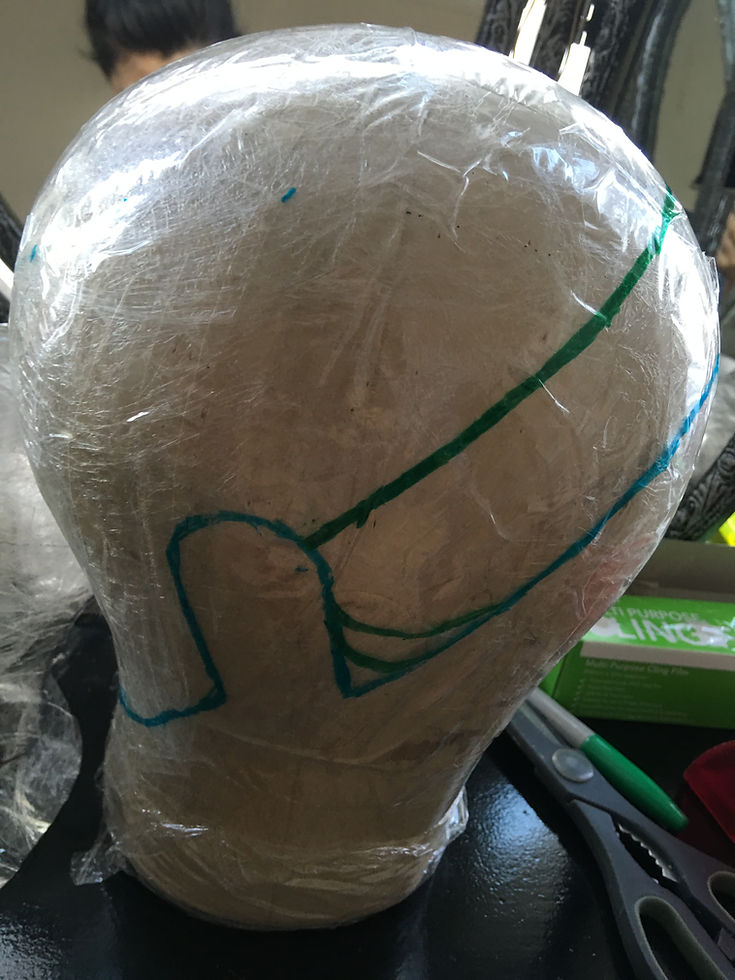
The cling film is then wrapped in cello tape to create a hard shell which can be drawn on with a sharpie pen.
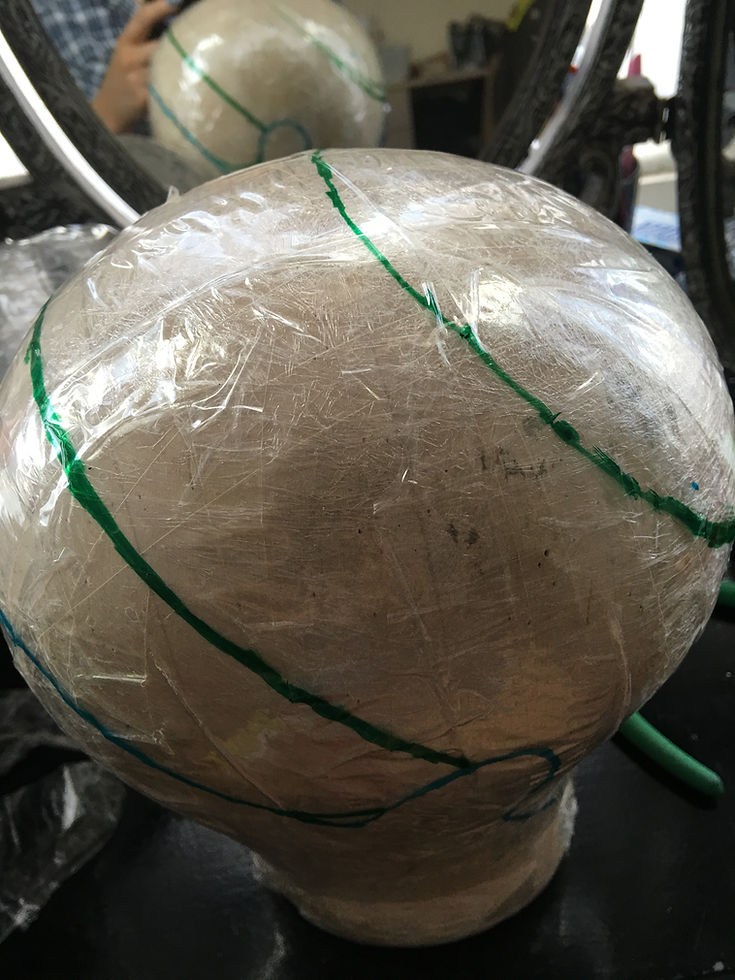
Measurements should be taken from ear to ear, front to back, nape, circumference, and will be written on the shell. The hairline is drawn on the shell also.
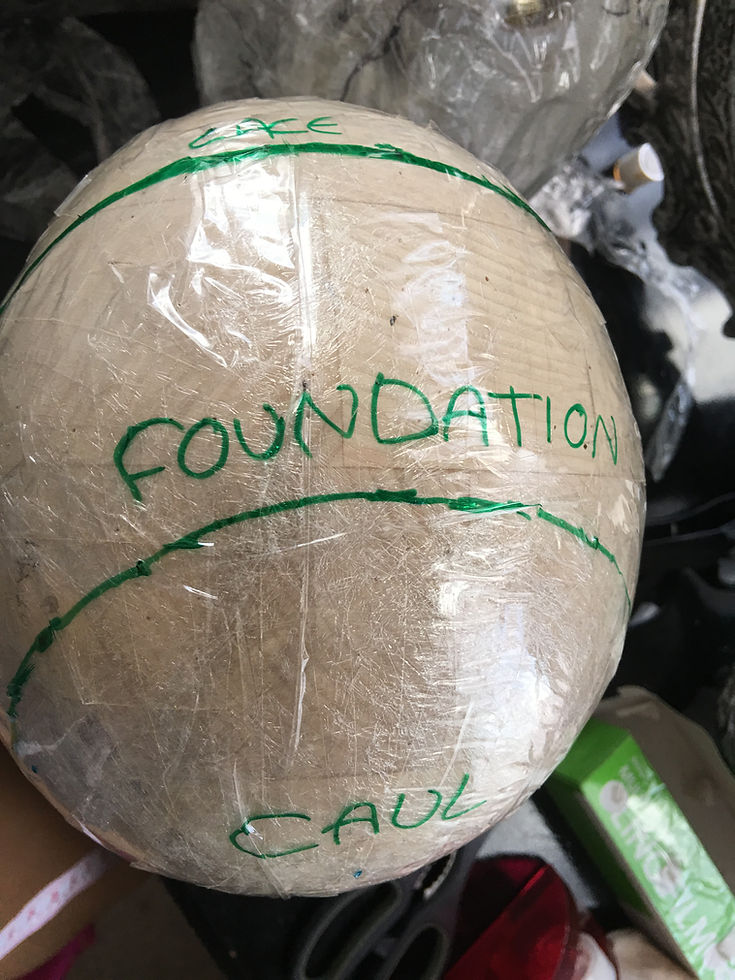
The cap is then removed from the head and the excess cello tape at the bottom of the hairline is cut of, it is then transferred onto a wooden block that has been covered in cling film and cello tape and the hairline is transferred onto the wig block.
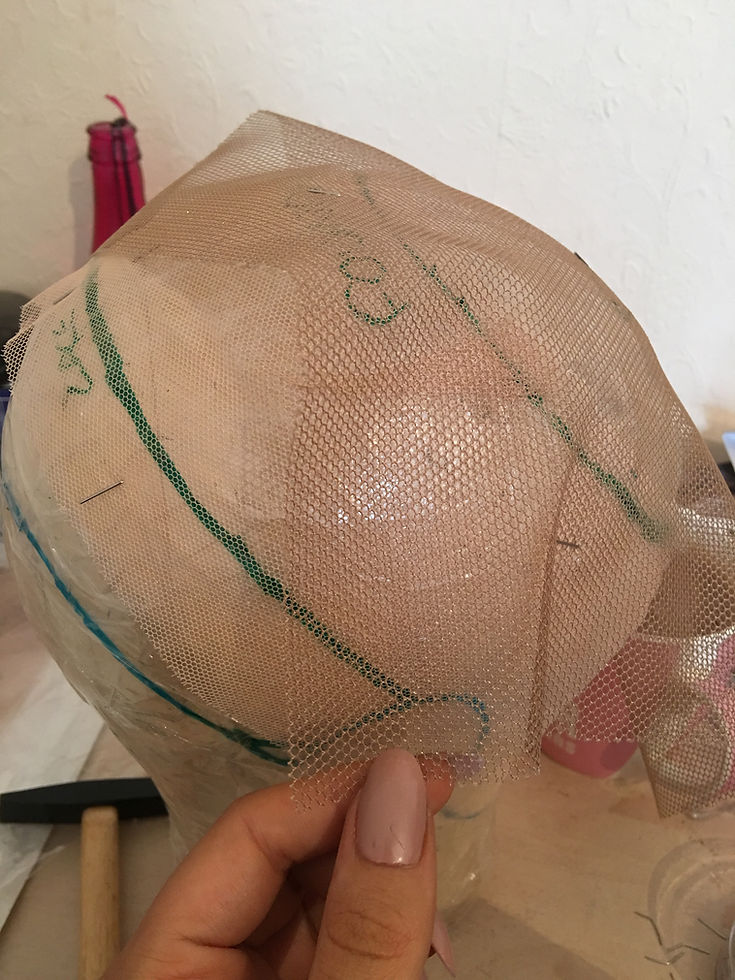
Here the foundation net around the middle band of the wig block has been pinned into place and darted and now I am doing the same with the caul net.
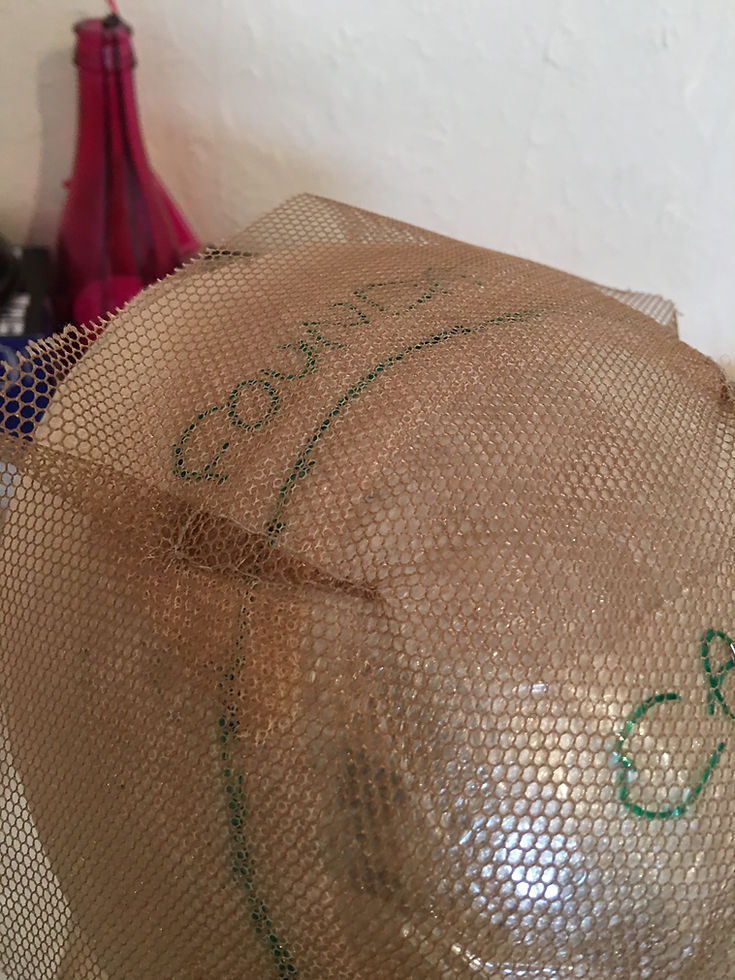
The caul net I ordered was quite dark and I did worry that the hair would be too light and you would see the base but I knew the hair could be bulk knotted here and if the wig cap was neutral I knew it would be unnoticeable.
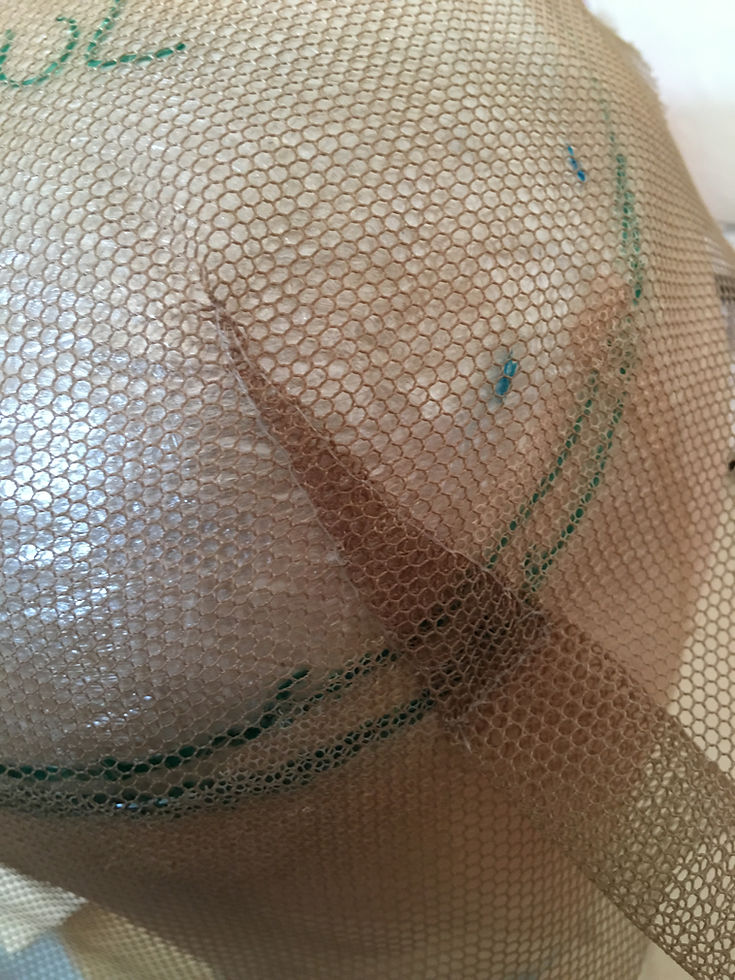
Here I am creating darts in the caul net. The darts should be kept away from the centre of the crown as there should not be any lumps in most visible areas.
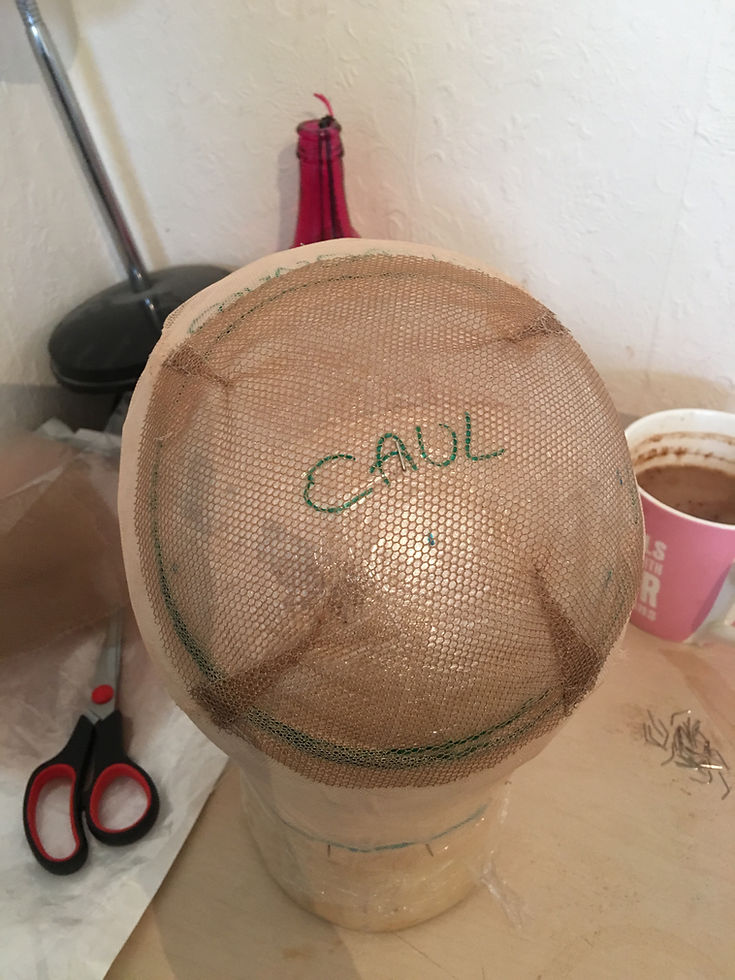
I have created four darts in the caul net which have been sewn onto the foundation net that has already been sewn into place.
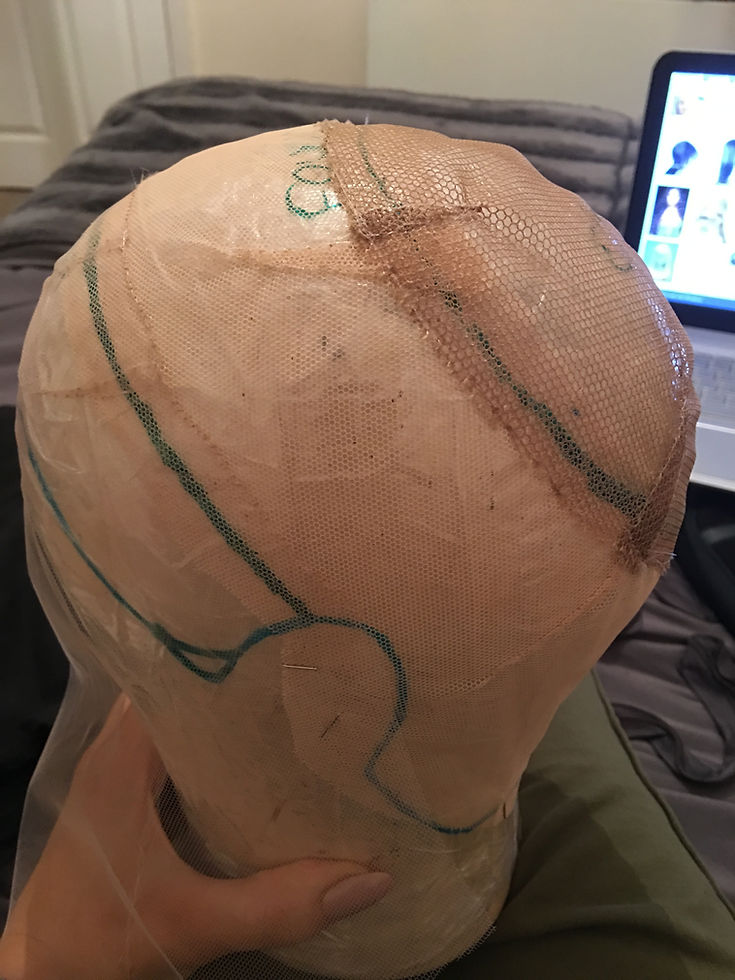
As you can see I both the foundation and caul net have darts in them that made the net lay tight to the wooden block, this is important for an accurate fit. I have finally attached the front lace to the front section.
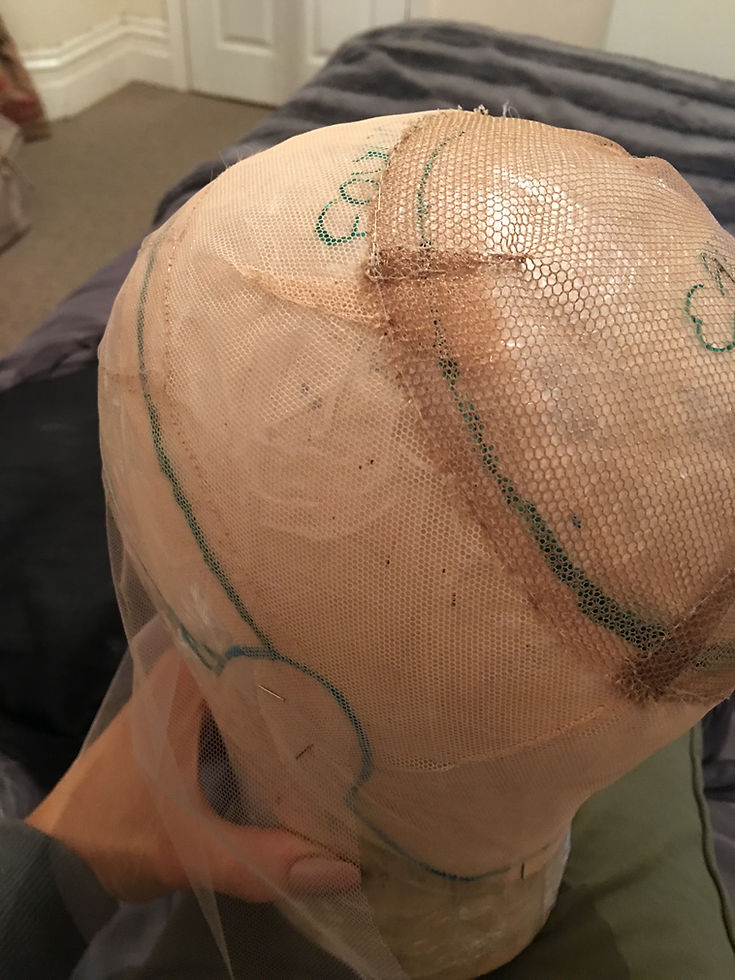
The front lace has been darted so that the lace lays flat on the hair line and under the hair line which will allow for a smooth and fitted application with no lumps and bumps.
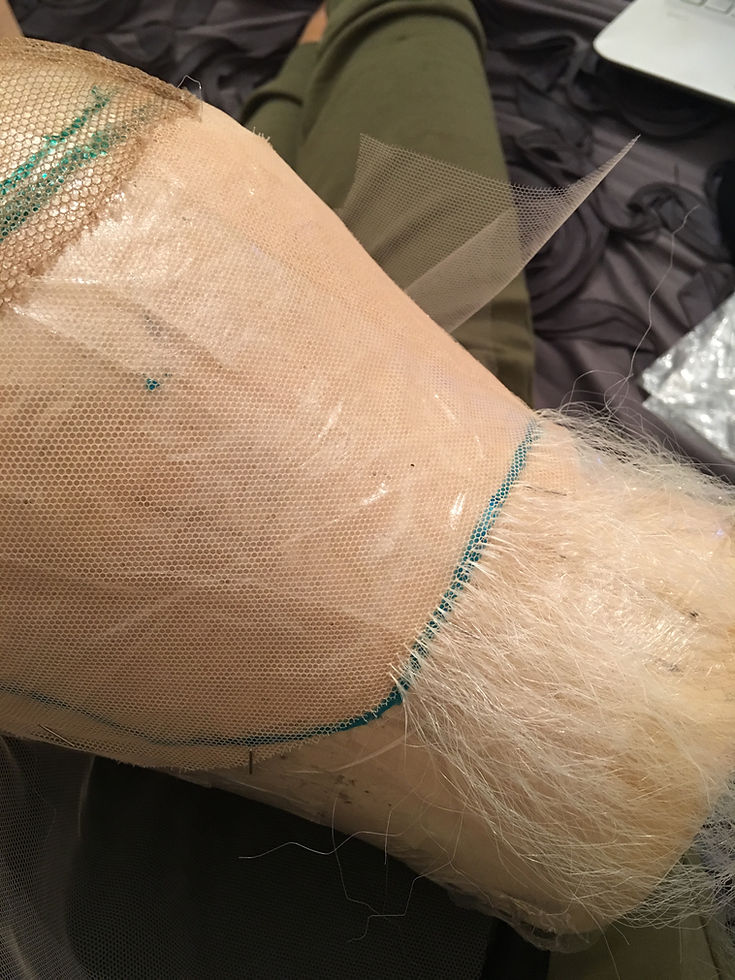
I began knotting on the nape working upwards, this is the best way since the hair lays over the hair already knotted and it does not become fiddly or messy.
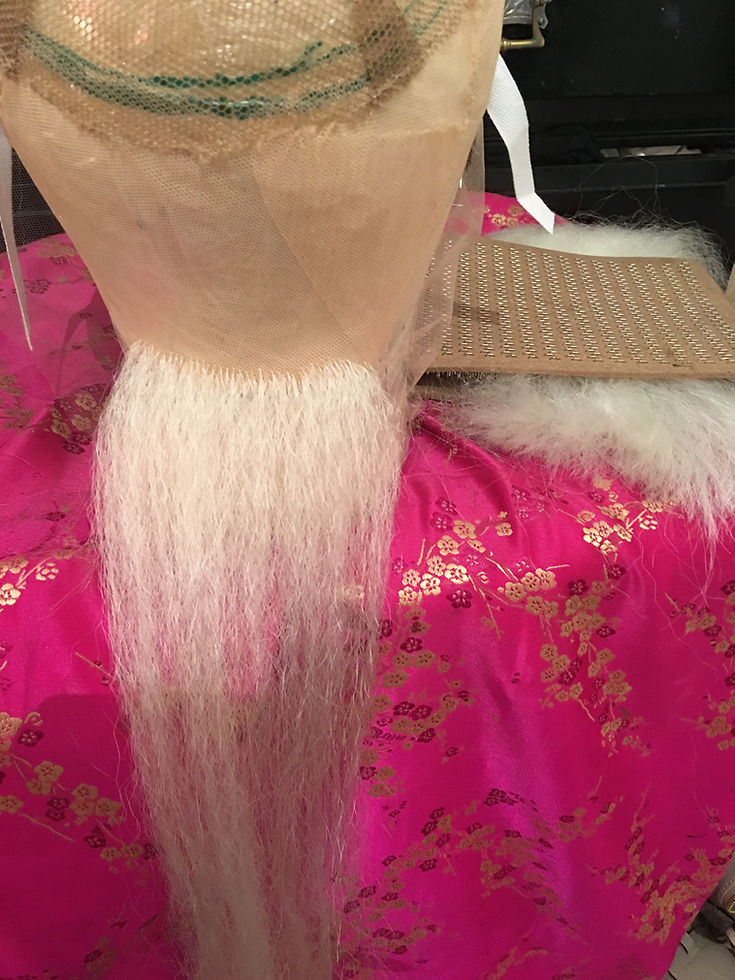
I did make the back foundation part quite large which in future I would probably fill more with caul net for time purposes as this back section took me a while especially since I have never made a wig before.
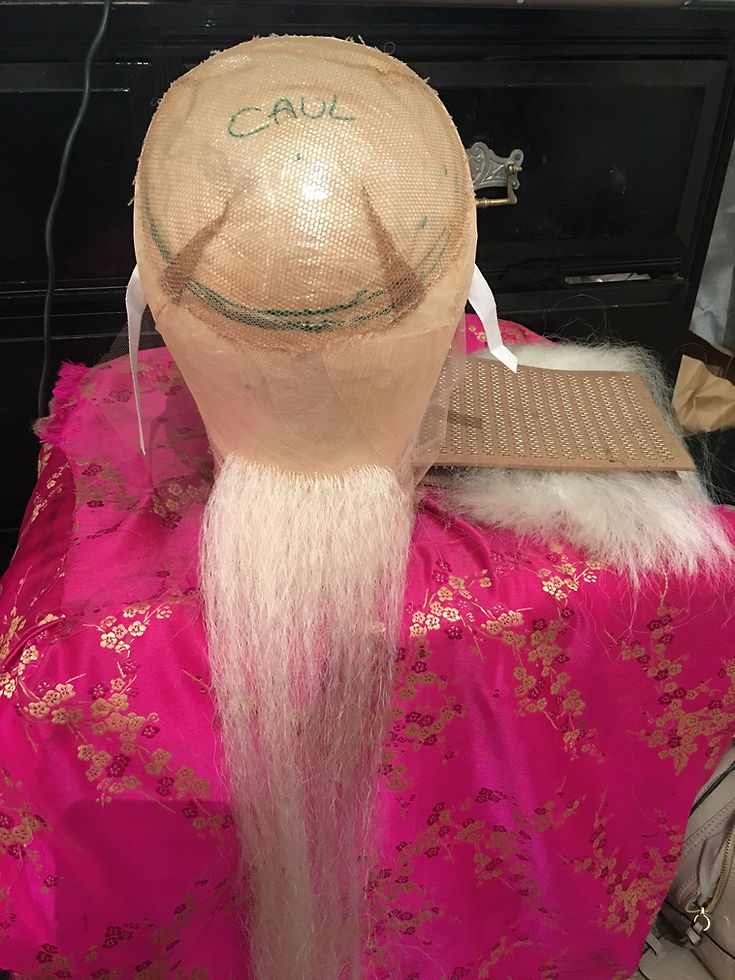
I am quite fast knotting however this was particularly difficult I found as the hair was partly kinked and white of all colours onto a nude net was strenuous on the eyes.
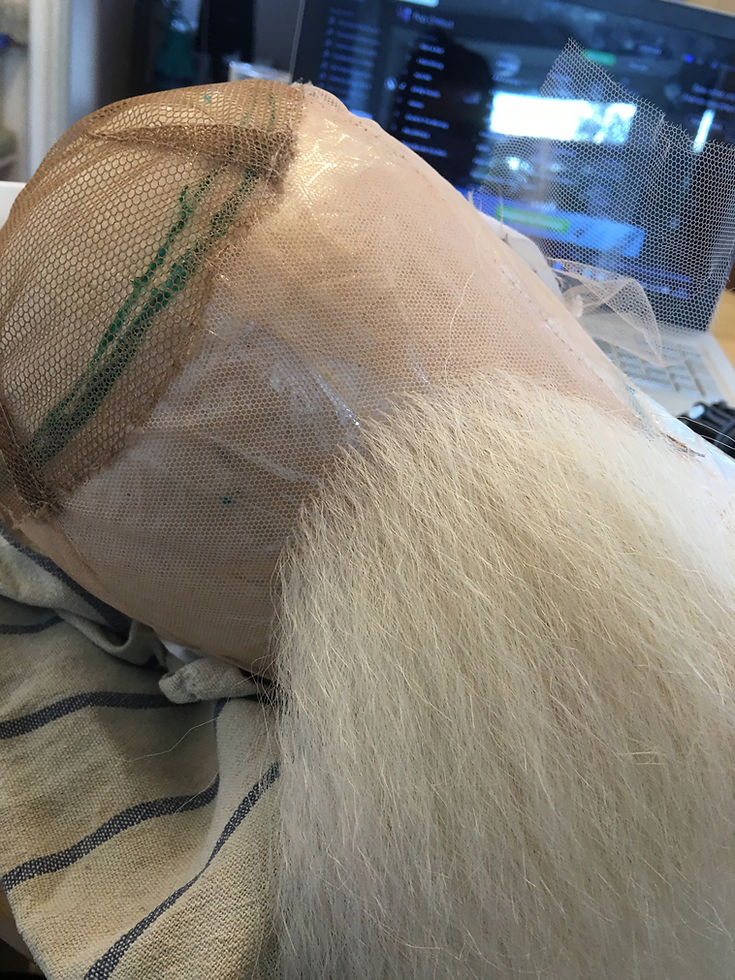
I knotted around 3-4 hairs at a time on this foundation net, then 5-6 on the caul net as the hair is light and I wanted to bulk out the back section so it was not visible. And then 1-2 on the lace with 1 hair at the very front.
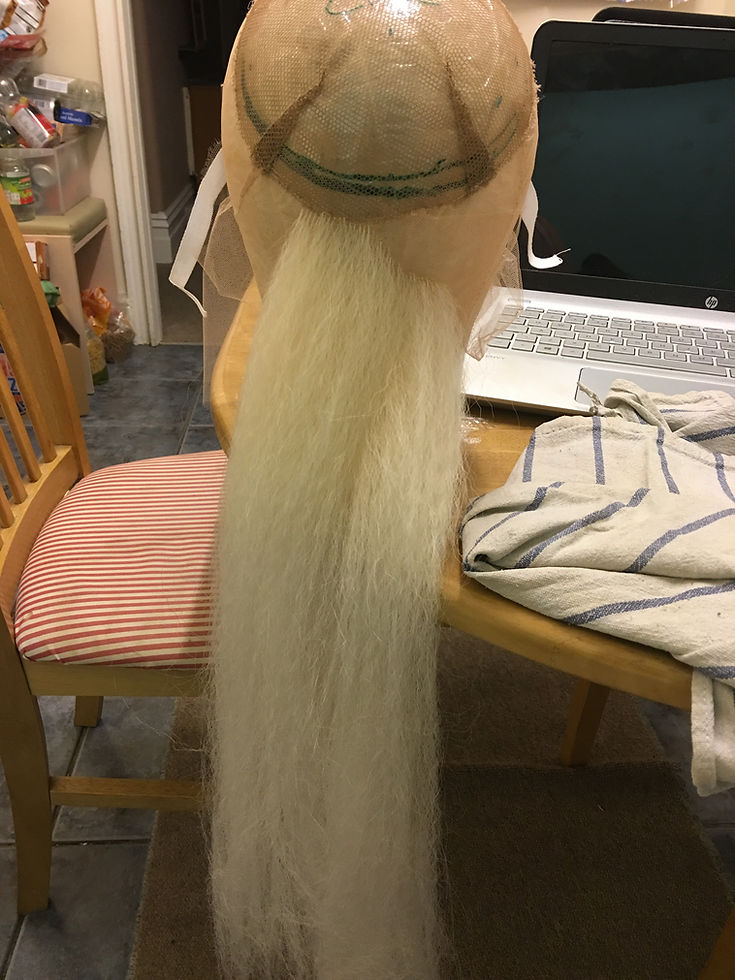
I did definitely under estimate how long it would take me to knot the wig because I am generally quite quick at knotting however this was the first time I have ever made a wig so it will definitely take me a much shorter time when I make a next wig.

Here I had knotted over the caul and up into the foundation net

I have almost made my way past the bulk knotting and it is not long before I move into the front lace. I have been cautious of the areas looking thin because of the type of hair it is so in some places I have had to add more knots than usual however I am confident it will be fine over a wig cap.
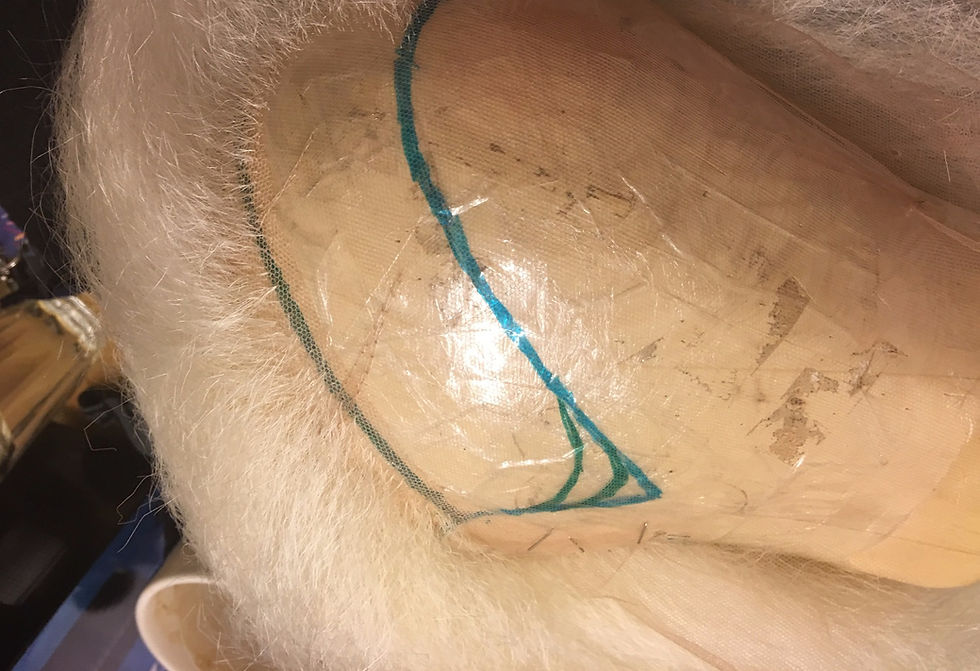
So here I have completed one of the sides of the front lace where the parting is going to be and I am ready to knot this side now. I am only creating a very small parted area at the front as if the fringe area has been moved and the rest of the hair has been styled back this adds more volume to the wig which I want.
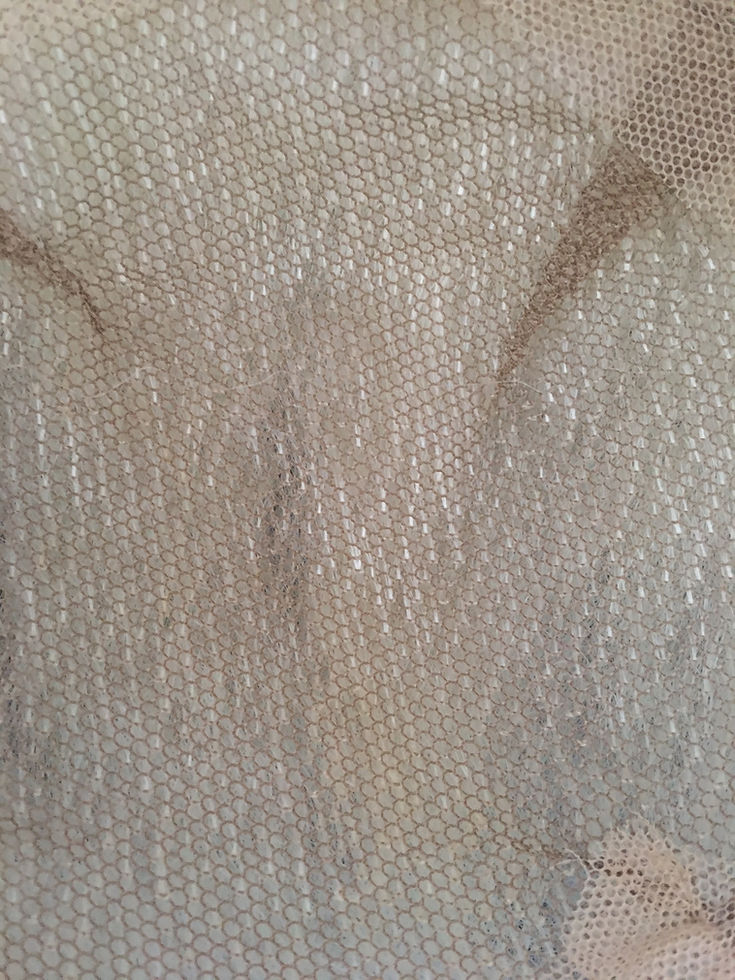
You can see in this picture how light the hair is over the net however the hair does cover it well and you cannot see any gaps.
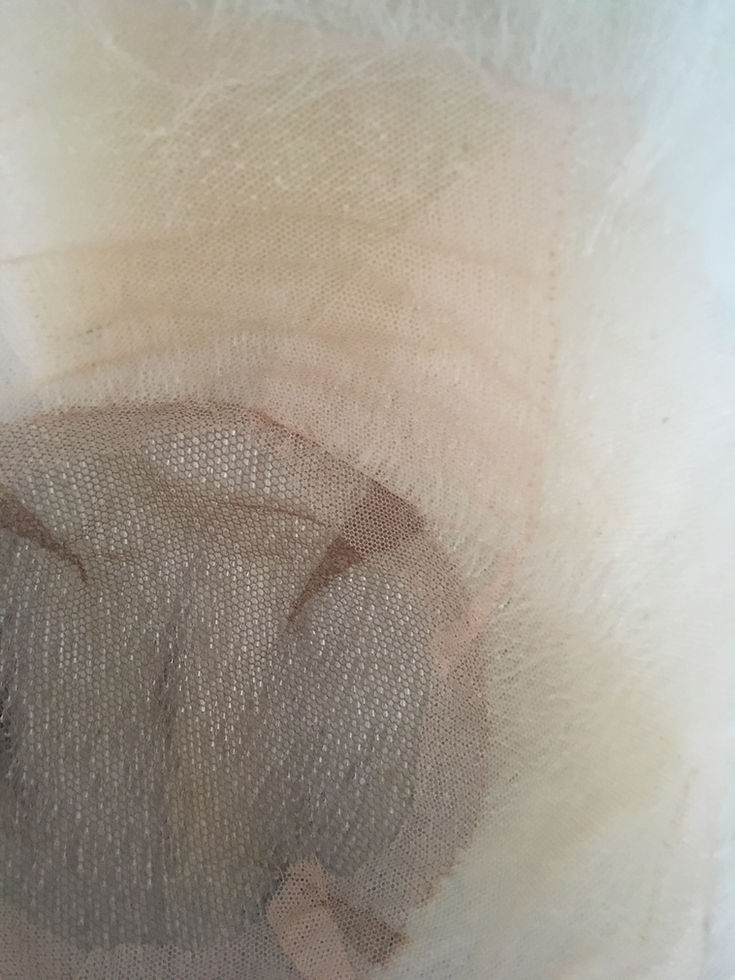
I know that my foundation is not the neatest in the world however it has been most beneficial to become more confident about the wig as I go along. I kick myself for not making a wig for SP because I could have learnt it and made a more refined wig now however I am still thankful I have decided to put this knowledge into practice before leaving so that after I graduate I can continue to improve.


So here is my finished wig before cutting ready for application. I have decided to cut the wig on the model so I can get a feel of whether to keep the full length because as it is I really like the texture and length I think it will look great for the shot. I am happy with the side parting as this will suit my model and I am happy the wig is not see though. The reason I made a three part foundation was because it is for a photoshoot and the editing can be done if it needs to be whereas if this was for tv I would have had to think about the technical elements a lot more in depth as it is a different context.