Georgie Kennett
Major Project
Re-fronted wig
![](https://static.wixstatic.com/media/067656_3f816a4614e84859a7b9ca158de271de.jpg/v1/fill/w_980,h_735,al_c,q_85,usm_0.66_1.00_0.01,enc_avif,quality_auto/067656_3f816a4614e84859a7b9ca158de271de.jpg)
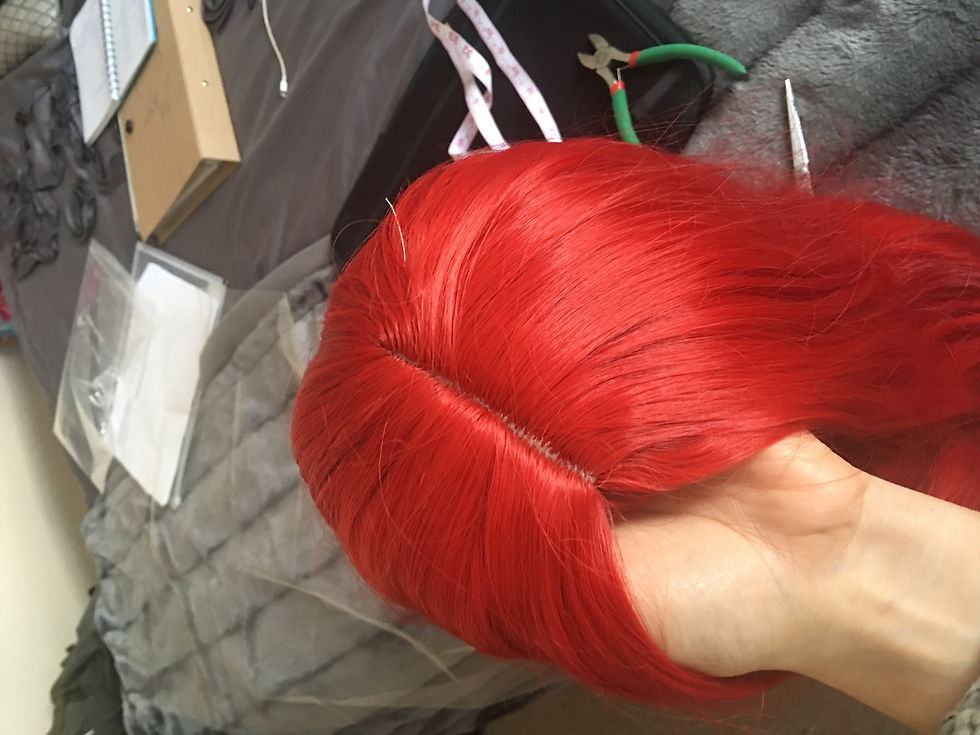
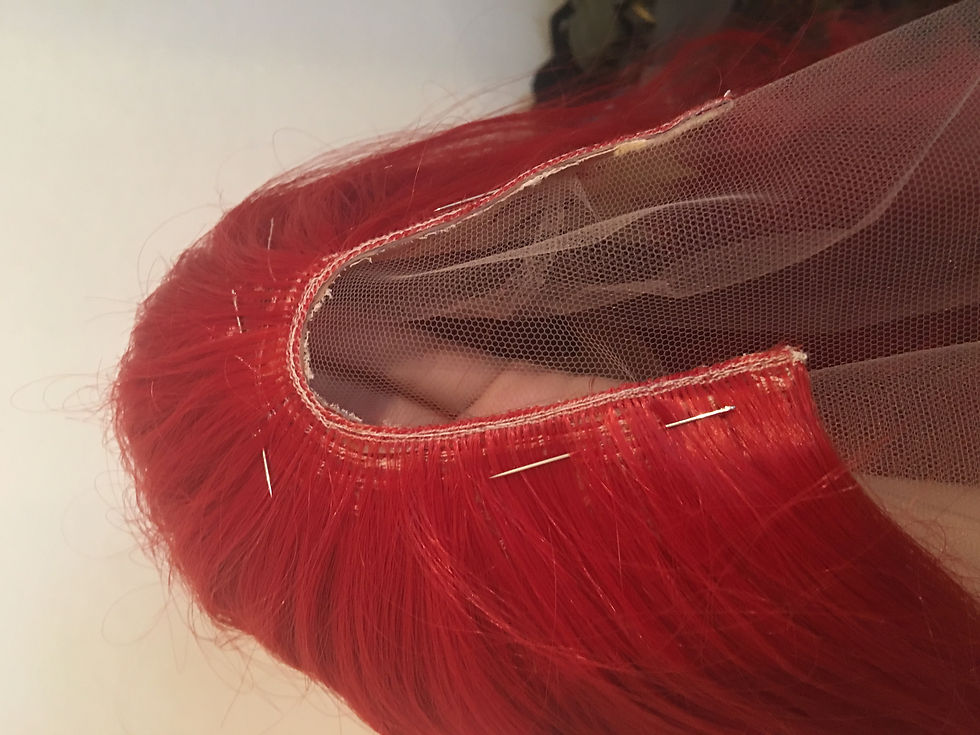
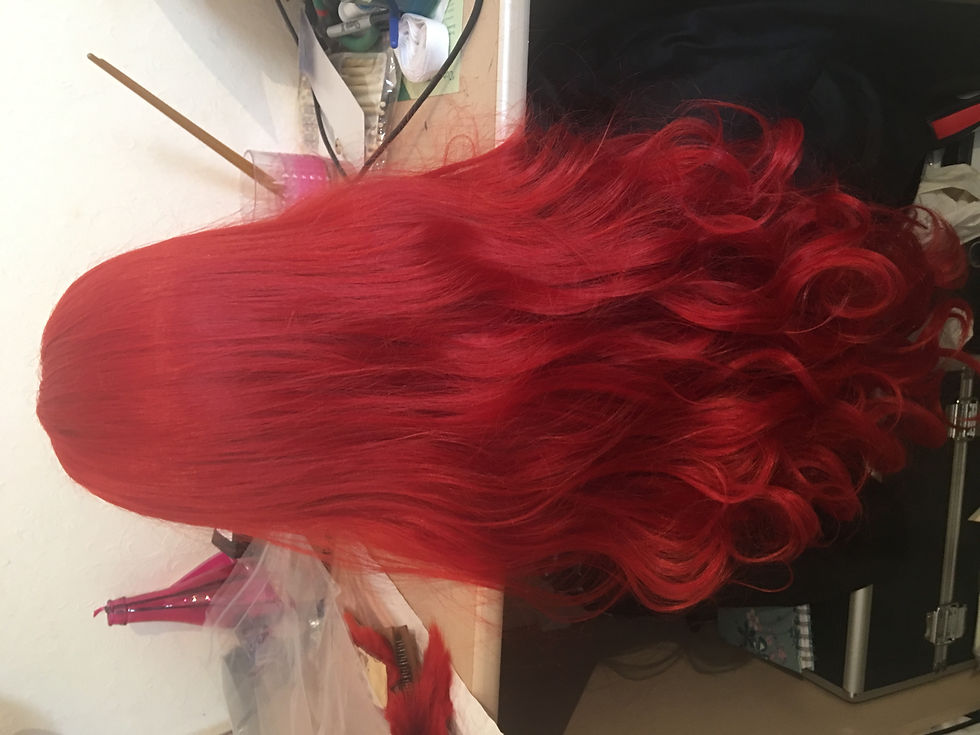
This is the cheaply made red synthetic wig I am refronting. It is a machine made wefted wig with a middle parting. I chose the middle parting so that I could remove the machine made one and just re knot the parting. I did not need to add any hair at the front where the hairline will be as this will be covered by roses anyway.
![](https://static.wixstatic.com/media/067656_817d7fbaac4c47379fdad6238cd0f59c.jpg/v1/fill/w_980,h_735,al_c,q_85,usm_0.66_1.00_0.01,enc_avif,quality_auto/067656_817d7fbaac4c47379fdad6238cd0f59c.jpg)
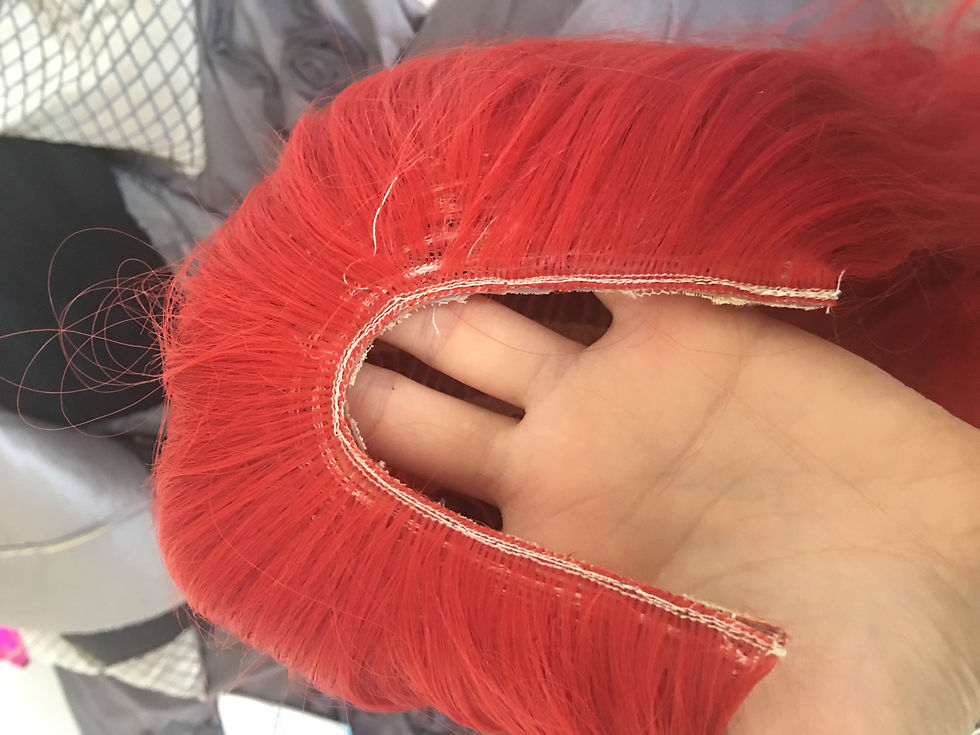
There was a U shaped section where the parting was so I navigated where the weft ended and carefully cut around the top part to completely remove the parting section so that I was left with a wig that looked like this.
![](https://static.wixstatic.com/media/067656_73286d161e2447bc8f0048307c9e5378.jpg/v1/fill/w_980,h_735,al_c,q_85,usm_0.66_1.00_0.01,enc_avif,quality_auto/067656_73286d161e2447bc8f0048307c9e5378.jpg)
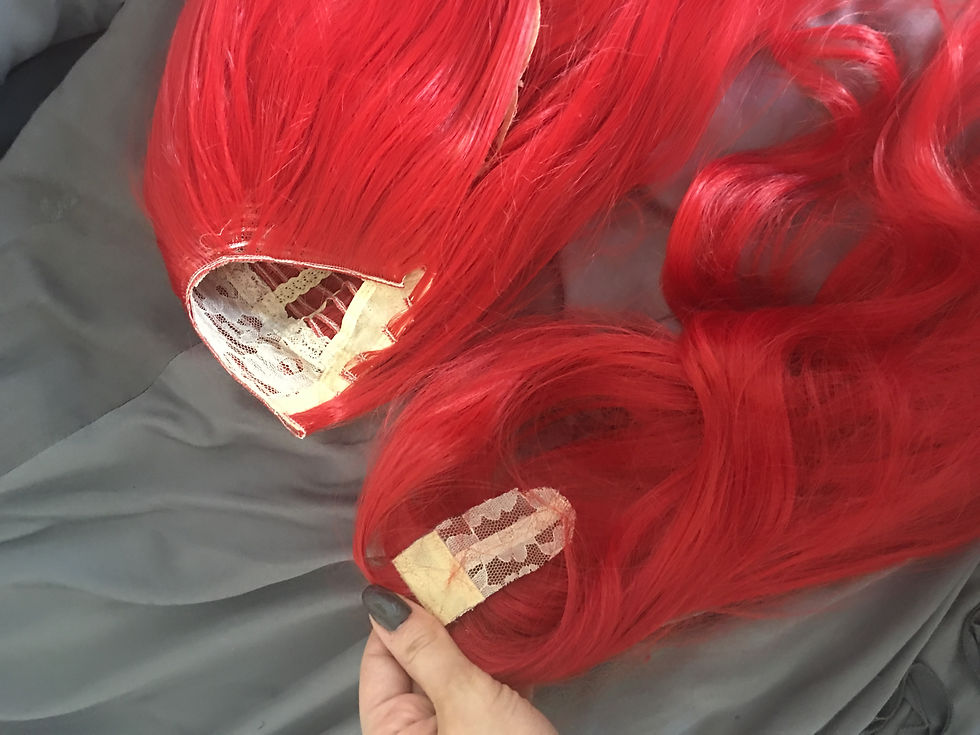
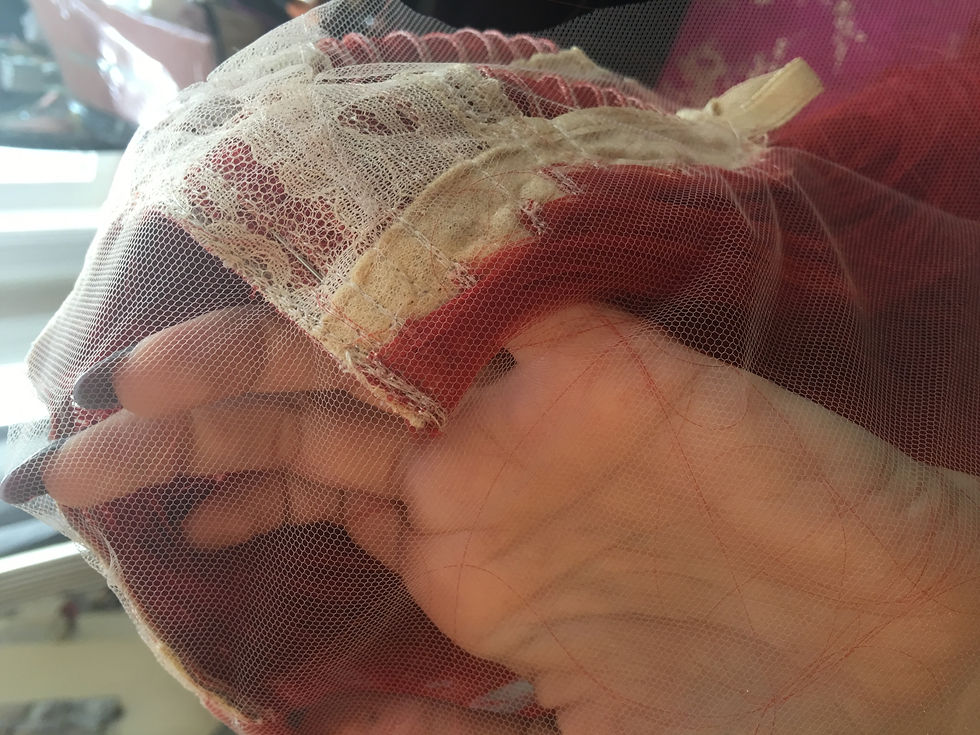
This is the removed section of the wig that I cut out, the hair on the parting piece can be cut off and used to re front the parting.
![](https://static.wixstatic.com/media/067656_c02cce1f7246476c812041742e16be84.jpg/v1/fill/w_980,h_735,al_c,q_85,usm_0.66_1.00_0.01,enc_avif,quality_auto/067656_c02cce1f7246476c812041742e16be84.jpg)
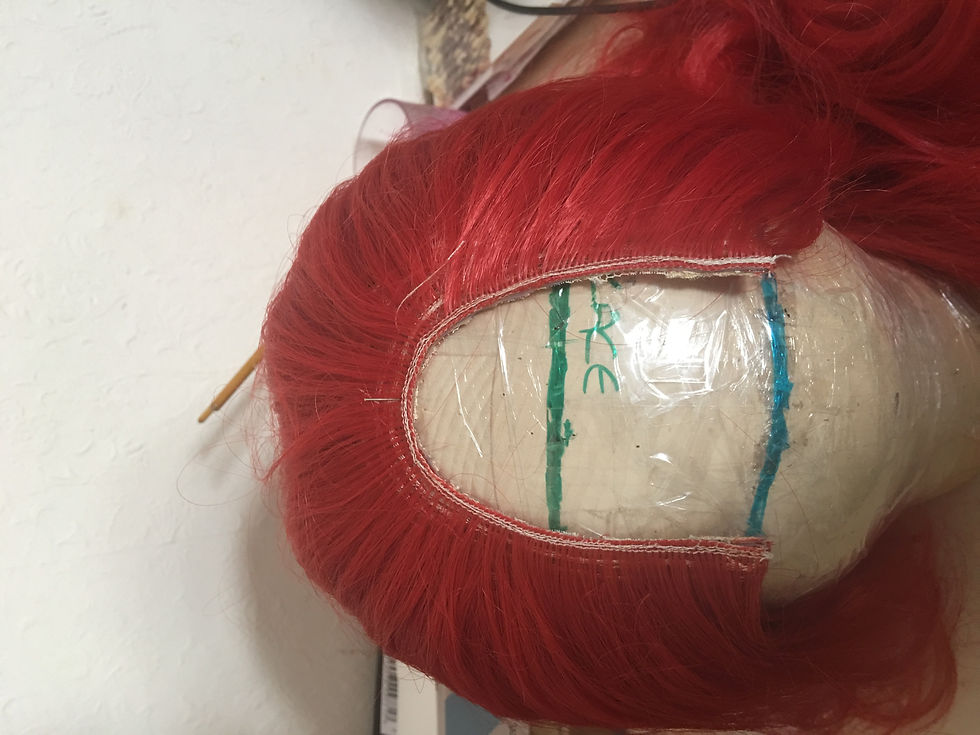
I attached the wig to the block and measured how much lace I would need to re make the parting and front section. I then proceeded to cut the lace and pin it to the block.
![](https://static.wixstatic.com/media/067656_9258423f88b440f1b449f05eaef48eda.jpg/v1/fill/w_980,h_735,al_c,q_85,usm_0.66_1.00_0.01,enc_avif,quality_auto/067656_9258423f88b440f1b449f05eaef48eda.jpg)
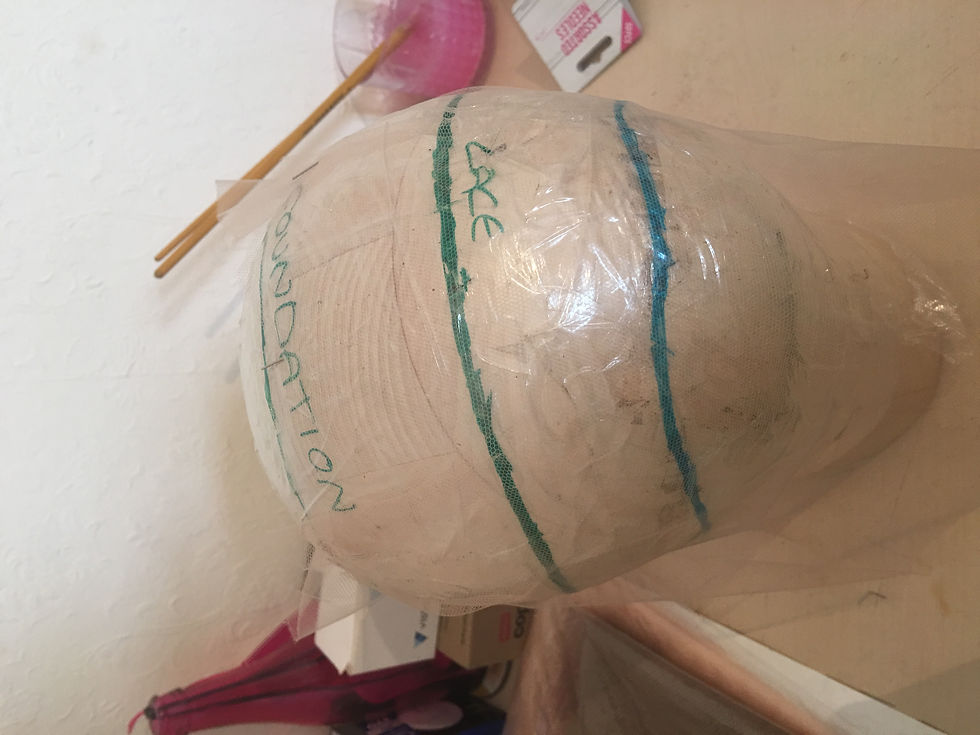
I made four darts on the lace, two either side of the parting making sure they did not enter the space I was going to be knotting in.
![](https://static.wixstatic.com/media/067656_c00b148059f345d1b4f85001ce386d05.jpg/v1/fill/w_980,h_735,al_c,q_85,usm_0.66_1.00_0.01,enc_avif,quality_auto/067656_c00b148059f345d1b4f85001ce386d05.jpg)
I sewed them with invisible thread and this holds the shape together like a cap. It is important to keep the area you are knotting and front section completely smooth so it can be glued successfully.
![](https://static.wixstatic.com/media/067656_9c30d518b8474004aa1c5898eca7a04f.jpg/v1/fill/w_980,h_735,al_c,q_85,usm_0.66_1.00_0.01,enc_avif,quality_auto/067656_9c30d518b8474004aa1c5898eca7a04f.jpg)
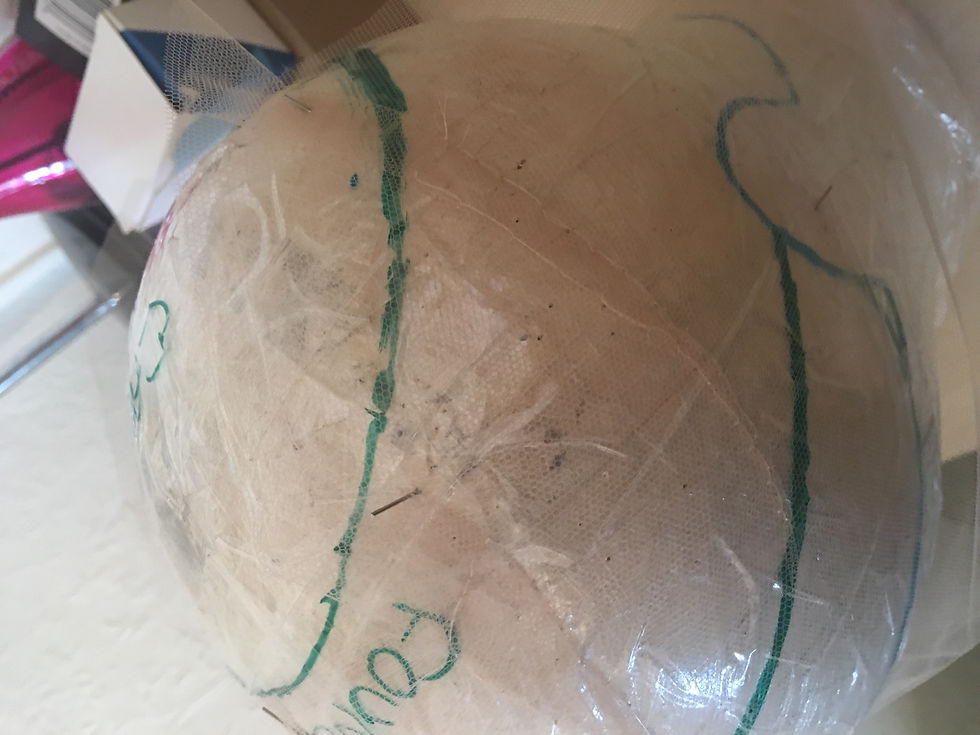
I placed the wig over the block with the darted lace on it and pinned the wig where I needed it to sit.
![](https://static.wixstatic.com/media/067656_ebba79c7559241beaca1621cb0238950.jpg/v1/fill/w_980,h_735,al_c,q_85,usm_0.66_1.00_0.01,enc_avif,quality_auto/067656_ebba79c7559241beaca1621cb0238950.jpg)
I then turned the wig inside out and sewed the lace cap onto the remaining wig securely so that I could remove the pins holding it together and it would stay in shape.
![](https://static.wixstatic.com/media/067656_e0339981112f467aba56bc2288e6e653.jpg/v1/fill/w_980,h_735,al_c,q_85,usm_0.66_1.00_0.01,enc_avif,quality_auto/067656_e0339981112f467aba56bc2288e6e653.jpg)
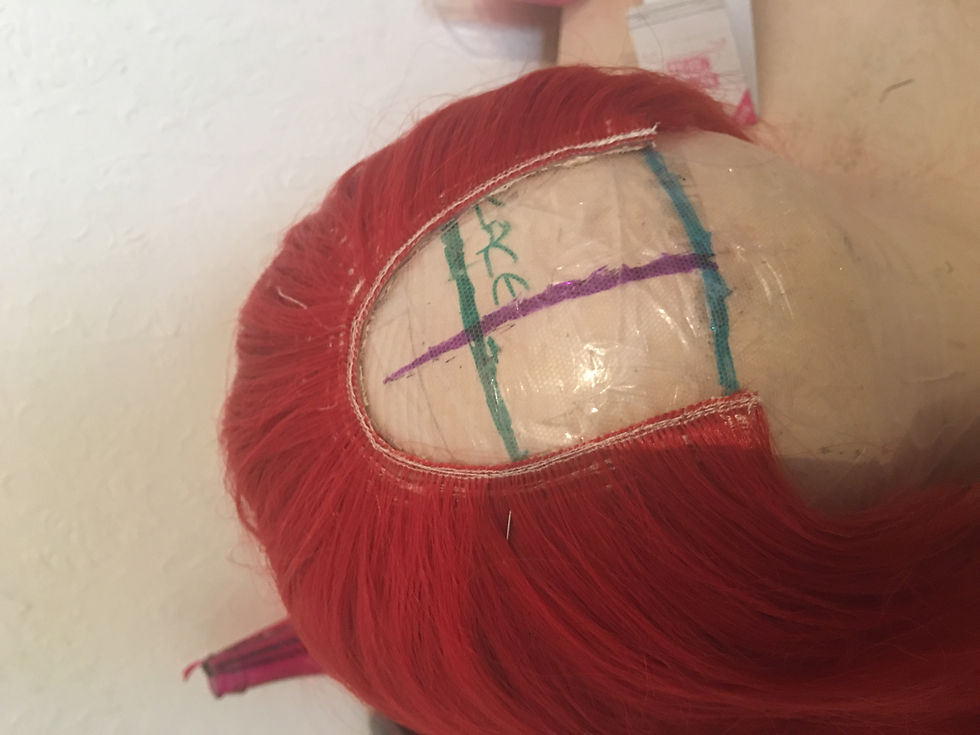
I then re attached the wig and lace to the block in order to later knot the hair after drawing a rough line of the parting as a guidline.
![](https://static.wixstatic.com/media/067656_7a0643651ccc48b9a41b0acda3b13f54.jpg/v1/fill/w_980,h_735,al_c,q_85,usm_0.66_1.00_0.01,enc_avif,quality_auto/067656_7a0643651ccc48b9a41b0acda3b13f54.jpg)
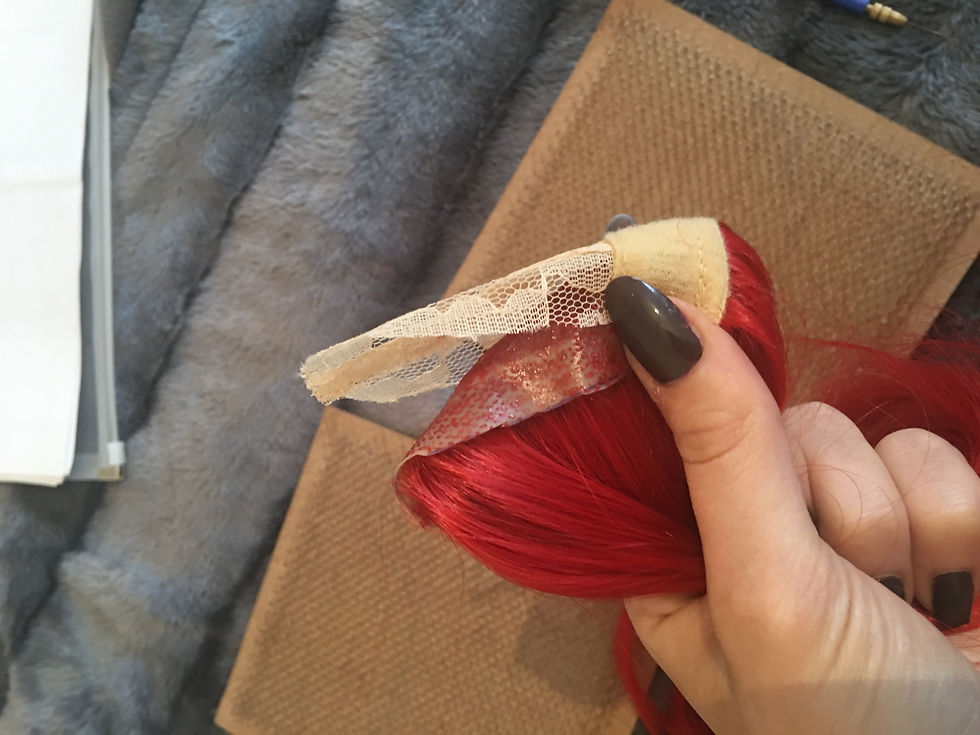
This is the piece I cut from the machine made wig. It is the parting section but this can be used to re front.
![](https://static.wixstatic.com/media/067656_fd199c39480f4433a7e2cb048f52b139.jpg/v1/fill/w_980,h_735,al_c,q_85,usm_0.66_1.00_0.01,enc_avif,quality_auto/067656_fd199c39480f4433a7e2cb048f52b139.jpg)
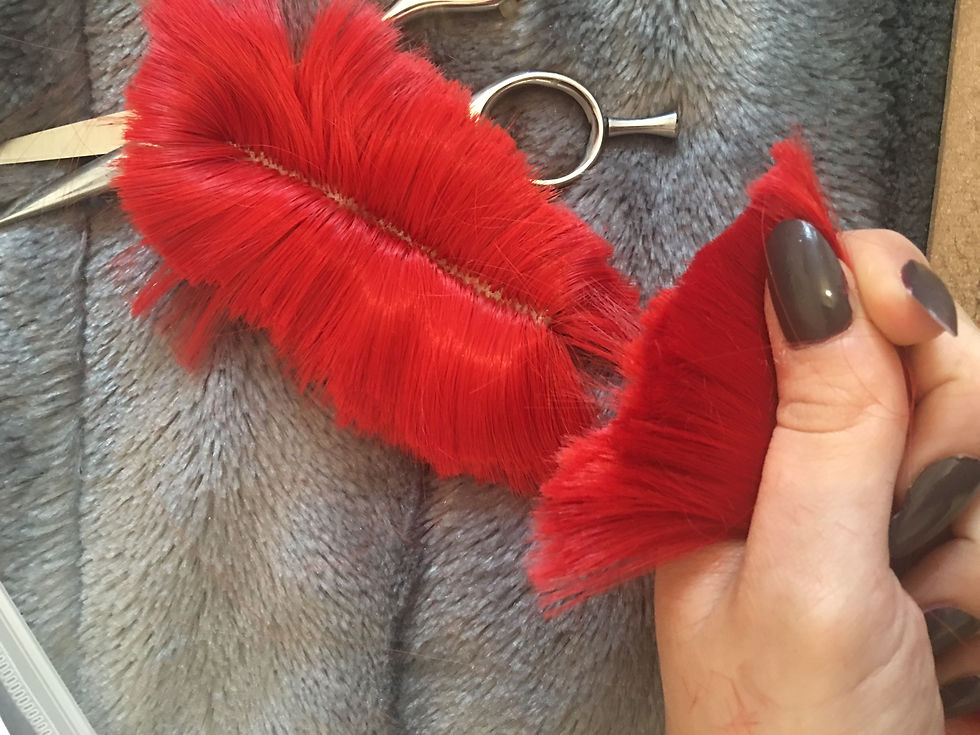
With scissors I cut the cap part and lace section off so I was left with lose hair.
![](https://static.wixstatic.com/media/067656_174520b4ef8d4092934eaa26038eeda6.jpg/v1/fill/w_980,h_735,al_c,q_85,usm_0.66_1.00_0.01,enc_avif,quality_auto/067656_174520b4ef8d4092934eaa26038eeda6.jpg)
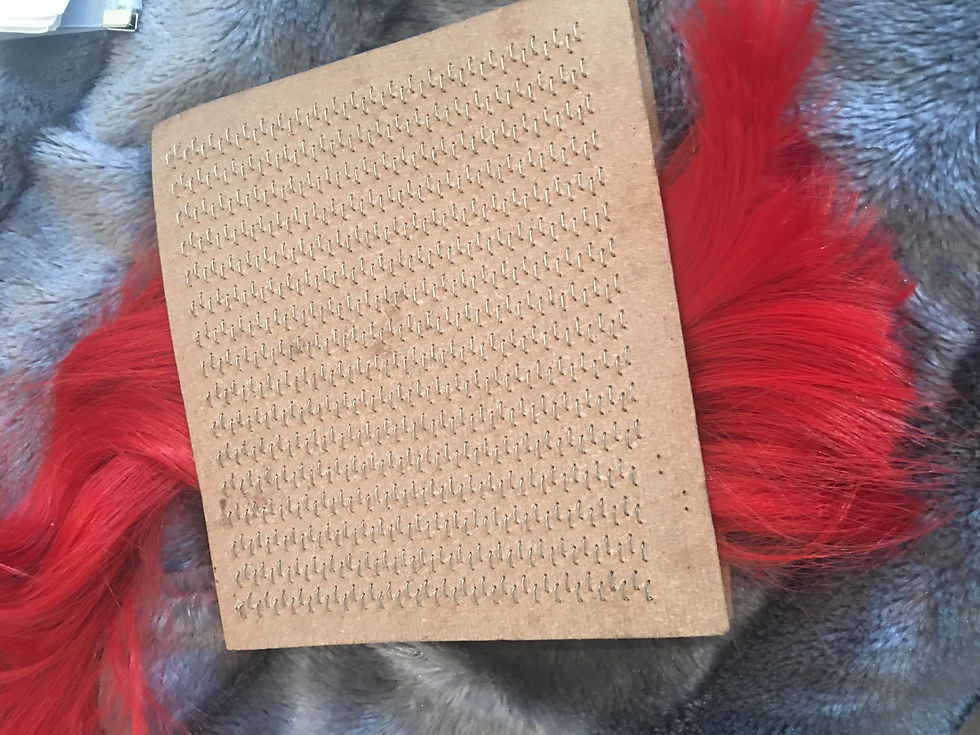
This lose hair is then put into a drawing matt and used to knot the hair onto the new parting. This will be enough hair since the machine made wigs are generally thicker than hand knotted ones.
![](https://static.wixstatic.com/media/067656_d5c5146ba83541068e1184b2b59acf1f.jpg/v1/fill/w_980,h_735,al_c,q_85,usm_0.66_1.00_0.01,enc_avif,quality_auto/067656_d5c5146ba83541068e1184b2b59acf1f.jpg)
I knotted around 1-2 hairs every hole then every other whole and random towards the centre of the parting. As I said before I did not worry too much about the front part as long as there was lace to glue to the models head because it is covered in roses I have made anyway.
![](https://static.wixstatic.com/media/067656_92d2a1cf29f14a45999c5e7aaee4eb7f.jpg/v1/fill/w_980,h_735,al_c,q_85,usm_0.66_1.00_0.01,enc_avif,quality_auto/067656_92d2a1cf29f14a45999c5e7aaee4eb7f.jpg)
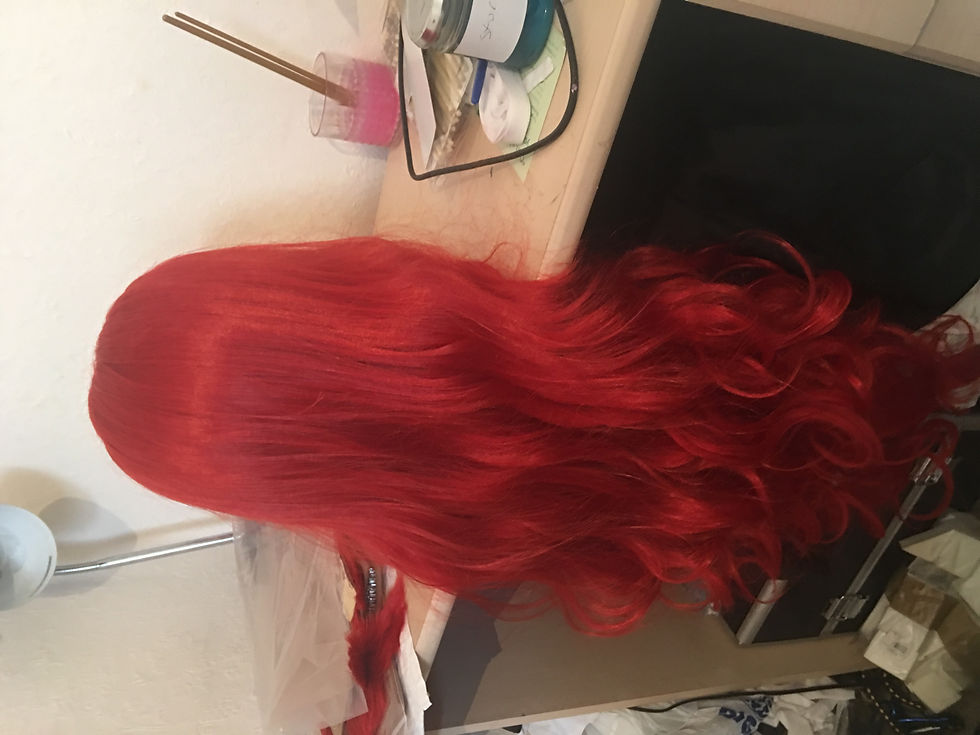
The reason I re did the parting section is so it didn't look to fake in the pictures, yes the colour is obviously false but I wanted it to work well.
![](https://static.wixstatic.com/media/067656_9c3ad0c7191740149ae9430a2a74d039.jpg/v1/fill/w_980,h_735,al_c,q_85,usm_0.66_1.00_0.01,enc_avif,quality_auto/067656_9c3ad0c7191740149ae9430a2a74d039.jpg)
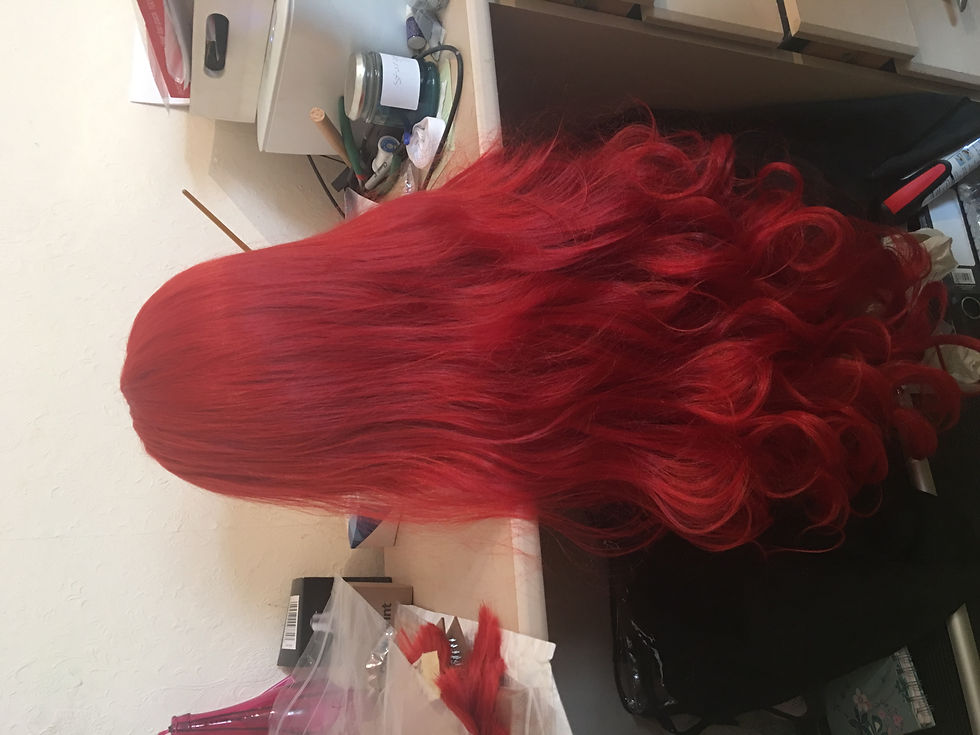
I added some layers to the shape so that it fell beautifully and wasn't straight and bulky. I cut the hair dry and did this before application as I already had single roses to attach for this look.