Georgie Kennett
Major Project
Testing

When designing I talked about spider lashes being the link to all three images as I wanted a similarity in all. I tested how they would look and I was really happy with the results.

The lashes looked really fantasy which is what I wanted. I applied individual cluster lashes to the bottom and top lash line. I began with the bottom lashes as this is what was in my design however they looked bizarre so I decided to add them to the top as well and I was really happy with the results.

I began testing the looks that were on my designs, they were very block colour and although different they just didn't suit the context. This was supposed to be for the champagne look however after I began searching for products that would be more suited.

This look was for the pineapple look, I did not end up using that design anyway as I narrowed the designs down to the most appropriate trio and the pineapple look just did not fit. This make-up look however would have been more suited to the champagne look so I kept this in mind along with the gold lip as I liked this a lot.

I carried on testing ideas for the champagne look and tried out a gold/ black lip which did work nicely but I decided was too dark and I wanted to keep the colour palette to whites creams and champagne/gold.

I tested this for the roses look, I wanted to achieve a diffused red eye but the red products I had were not great. The red eyeshadow I had was much to pinky/purple. I used a lipstick to create this look which was different because it did create quite a glossy finish which was nice but again I wanted to find a product that was a pigmented red.

I tested this look for the pineapple look and used an orange lip which was nice. Again I decided to scrap this design as it did not really fit in with the theme but I probably would have either used this or a vibrant bronze colour.

Here I tested the silver naked cosmetics pigment on the eyelids which was nice but it did not have the diamond look I was after, I needed something that was really pigmented and silver. I used a black kryolan kohl eyeliner to colour the lip and I really liked it. The boldness looked strong and complimentary to the silver.
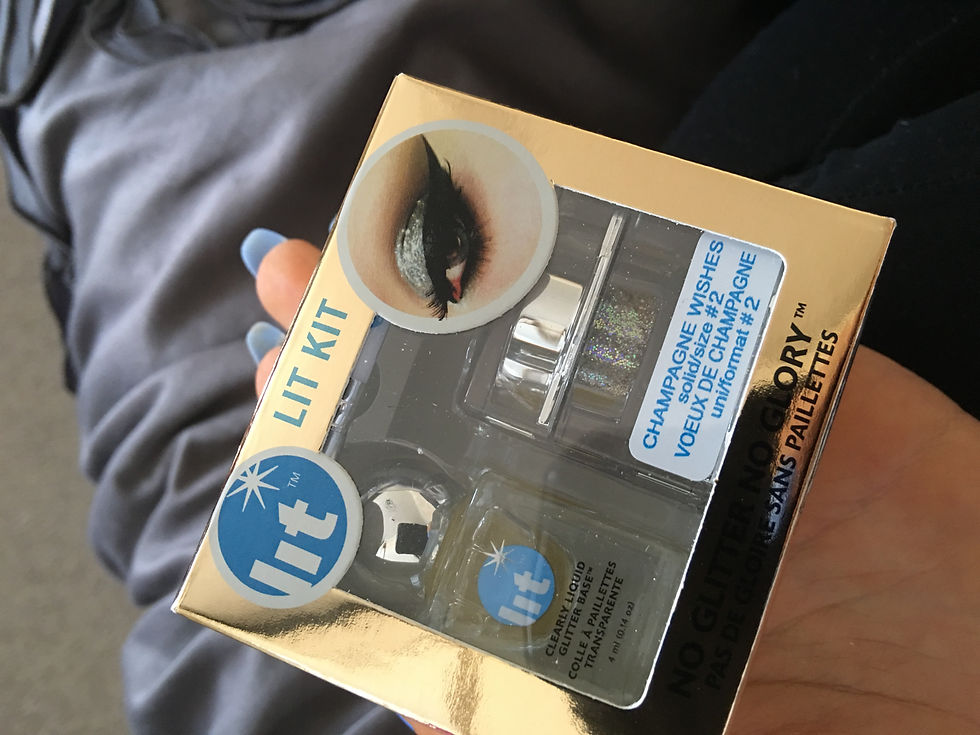
After searching for a product that represented the champagne well enough I came across Lit Cosmetics on Instagram and they stock a wide range of glitter pots with an oil applicator. They were relatively expensive for a small amount but the colour I bought was champagne wishes and the pigment is great.

I bought my individual eyelashes from Morphe as they were a great price and I was going to use a lot of them for the practice and shoot.
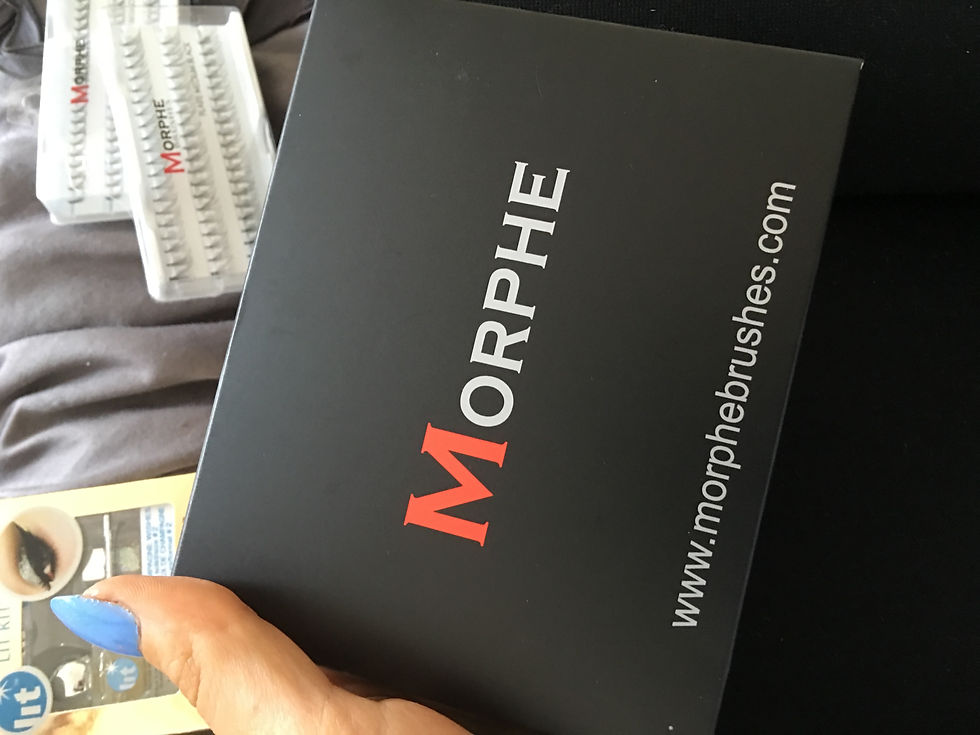
I bought this palette from beauty bay because I wanted to find a really pigmented bright red and I have used Morphe before and I have a few palettes from them and I love the pigment and texture of them.
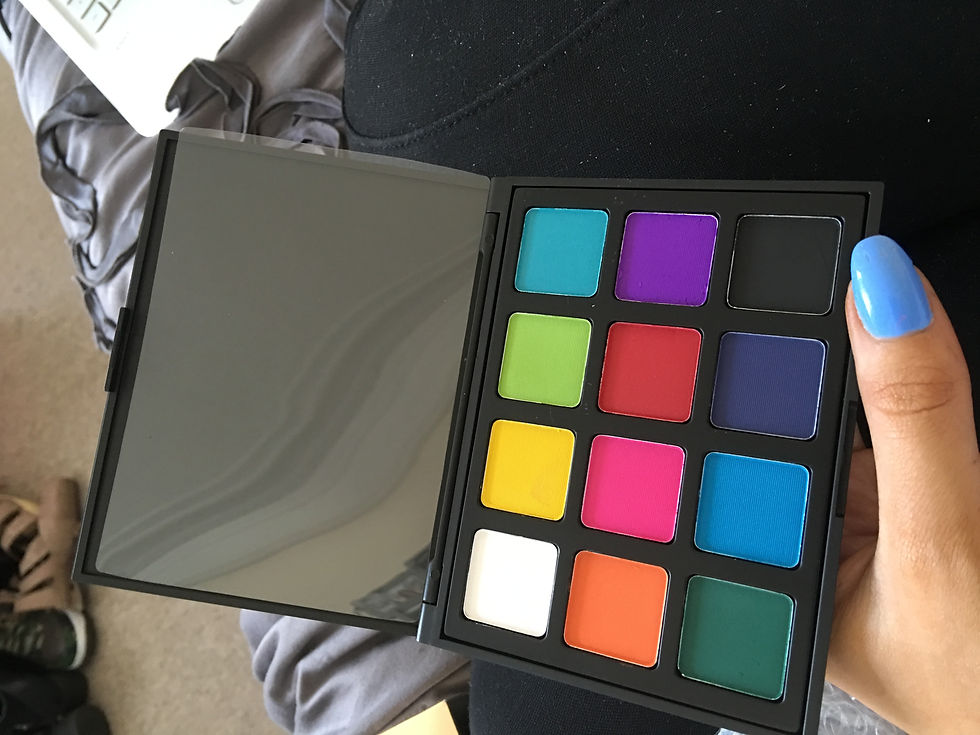
This is the palette I bought as you can see it has the red colour I was looking for but I can also use the palette in the future and add it to my kit because of the range of pigmented colours that I could add to any look.

For this test look I re shaped and re did my models eyebrows to see how it went with the eye look. For this one I liked the brows because I am going to be using her natural hair. The eyeshadow is the Barry M glitter dust in silver and I was satisfied with the pigments. I was also happy with the black lipstick in this look. I applied a small gem under the bottom lash line and I liked how it opened up the eye more so I will definitely use this.

I played around with colours on the eyes on this look and smoked out certain areas with the colours from the new Morphe Palette. I did use the pink and I decided not to after testing this as I wanted the eyes to be more vibrant red. I also did not think the brows fitted with this look because I do not think it looks fantasy enough so I have decided to stick to blocked out brows and diffusing the colour upwards.

I used the Lit Cosmetics Champagne Wishes glitter here and I created almost a tear effect under the eye inspired by work I had seen on Instagram and I really liked it. I did think however I needed the gold base I tested before underneath and also the brows do not fit with this look especially with the white wig, they just look wrong and too dark.
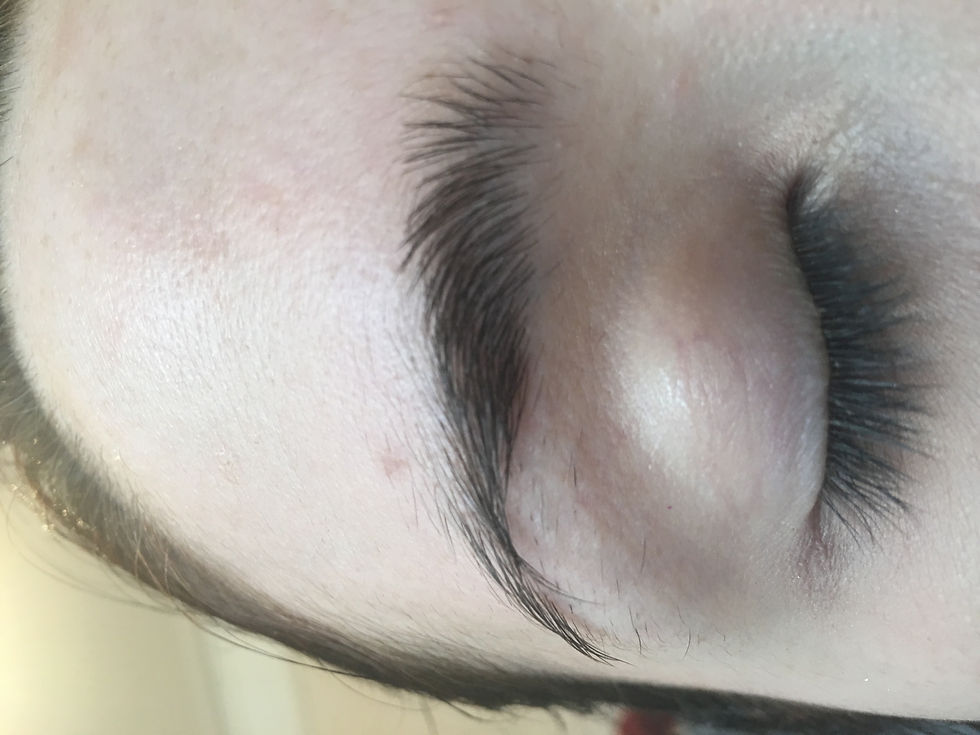
I decided to test products for the blocked out brows. There are other ways you can do this for example with cap plastic or silicone pieces however it is not necessary for a photoshoot because it can be edited. Silicone pieces would be used for TV or film especially where the make-up has to be worn for long amounts of time.
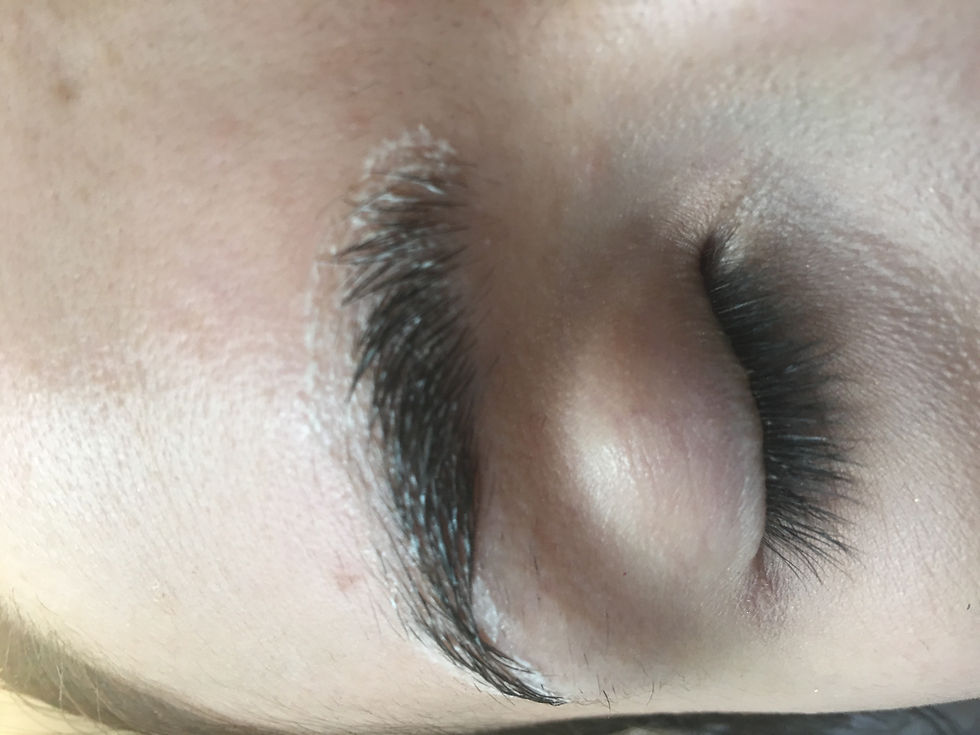
I have used spirit gum before to block brows however this time I used prosaid as I find it a much nicer adhesive to work with in comparison. I applied this with a cotton bud.
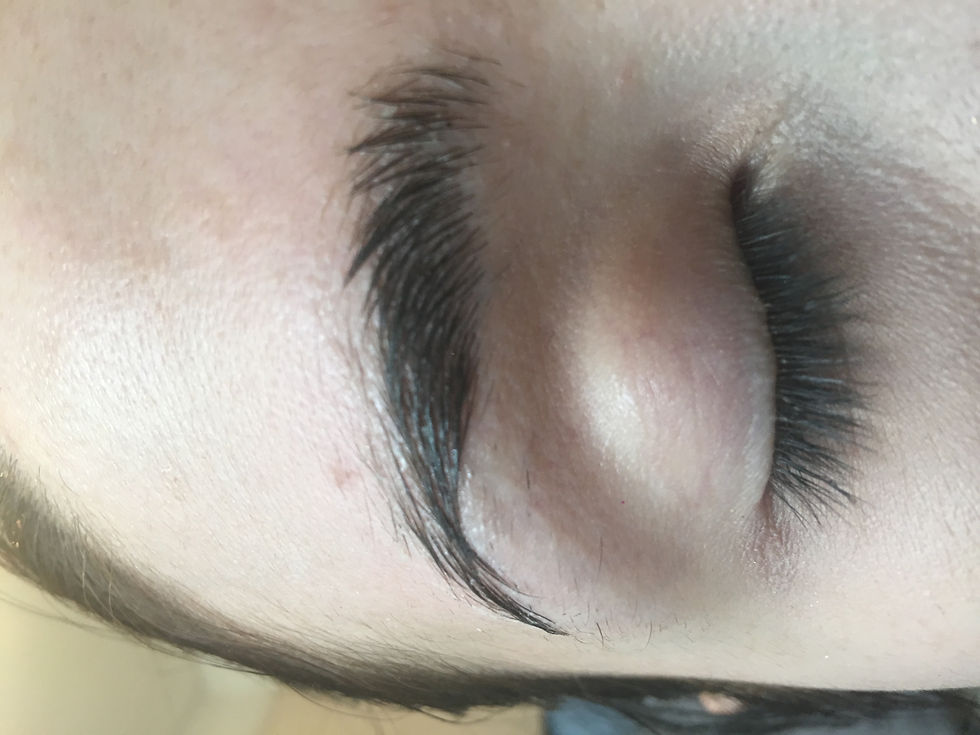
I waited for the product to go tacky almost dry and then I rolled my hand over the eyebrow to push down the hairs and allow them to lay flat to the face, this is so that the area looks almost bald once covered.
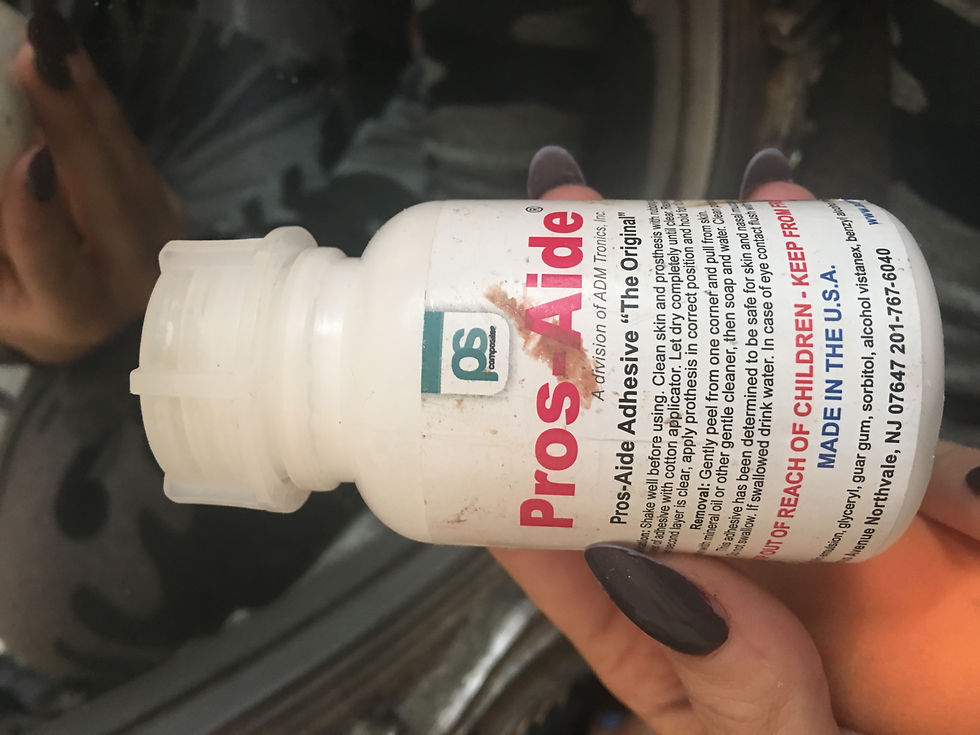
This is the prosaid I used, there are other adhesives available however this is the one I mostly use.
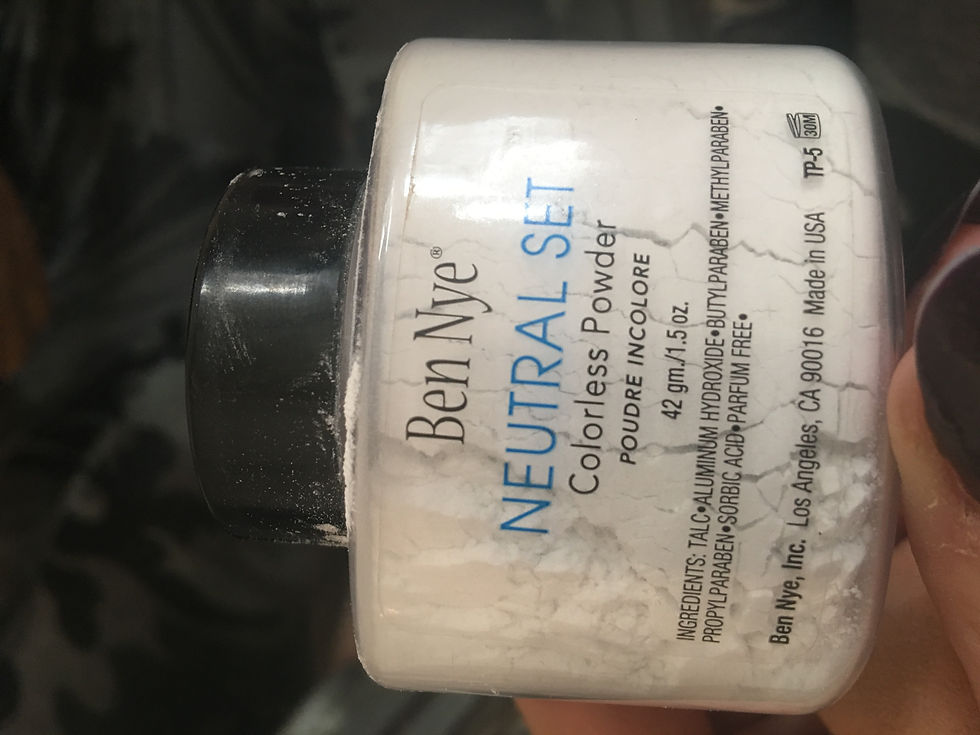
I bought this Ben Nye setting powder in neutral and it is a translucent powder used to set make up. This is great to set the colours once applied.
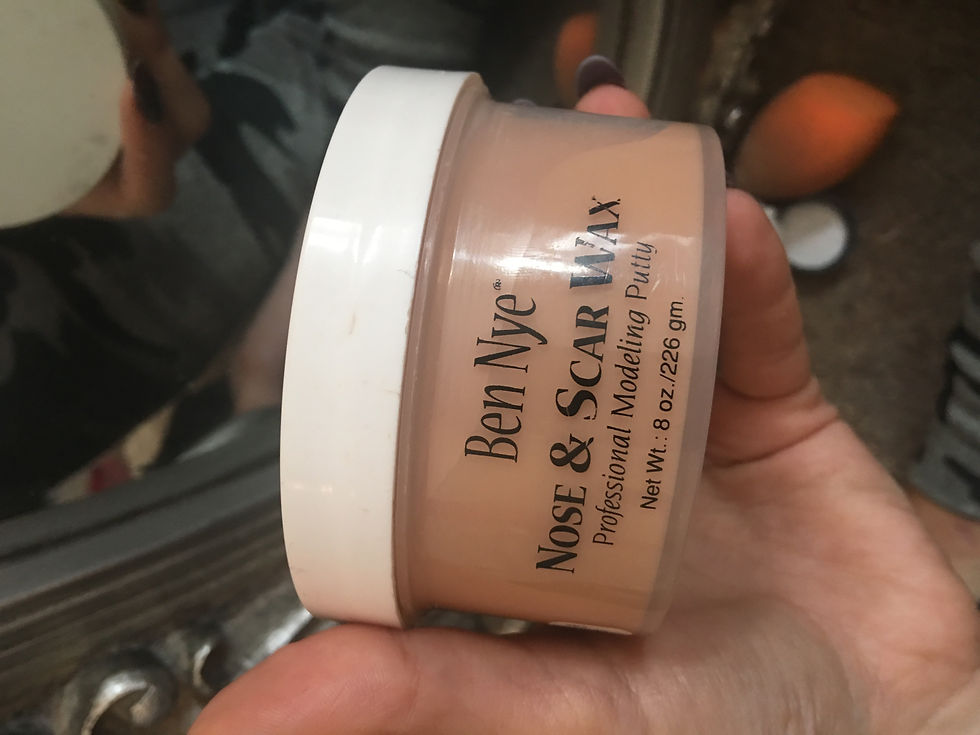
This is the wax I used to cover the brows and cover the texture of the hairs. It is easily warmed in the hand and is my favourite type of wax as I do get very cold hands which makes the wax too hard but this softens with little heat.
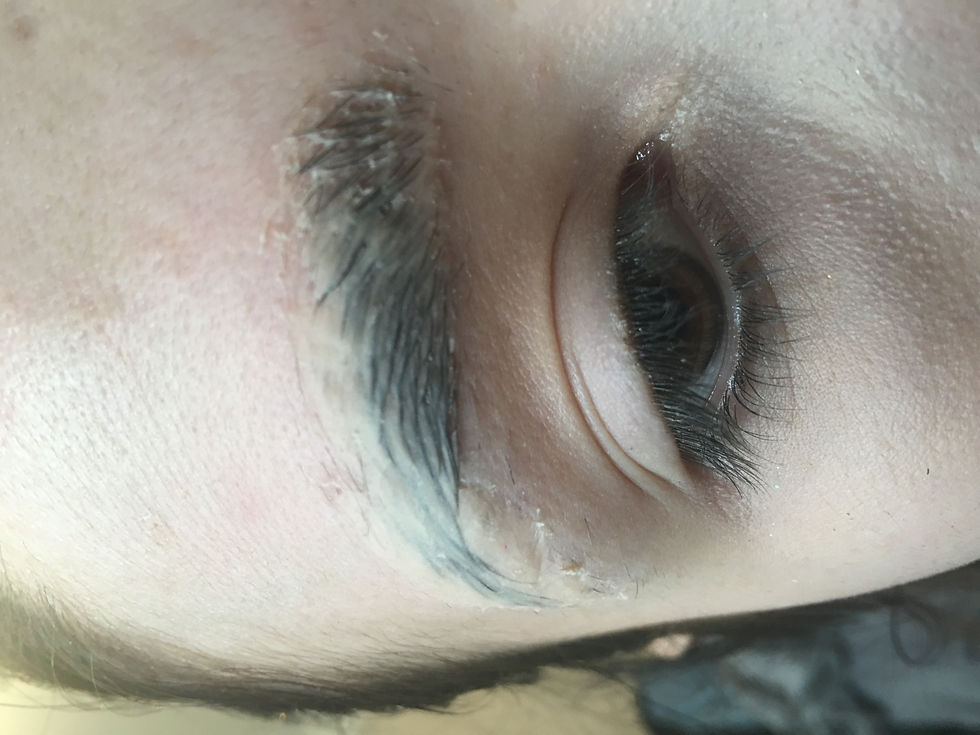
I applied it in small bits from the outside moving in however I did manage to apply slightly too much, so I then proceeded to scrape the excess with a spatula. This worked well because it also smoothed out the remaining wax.
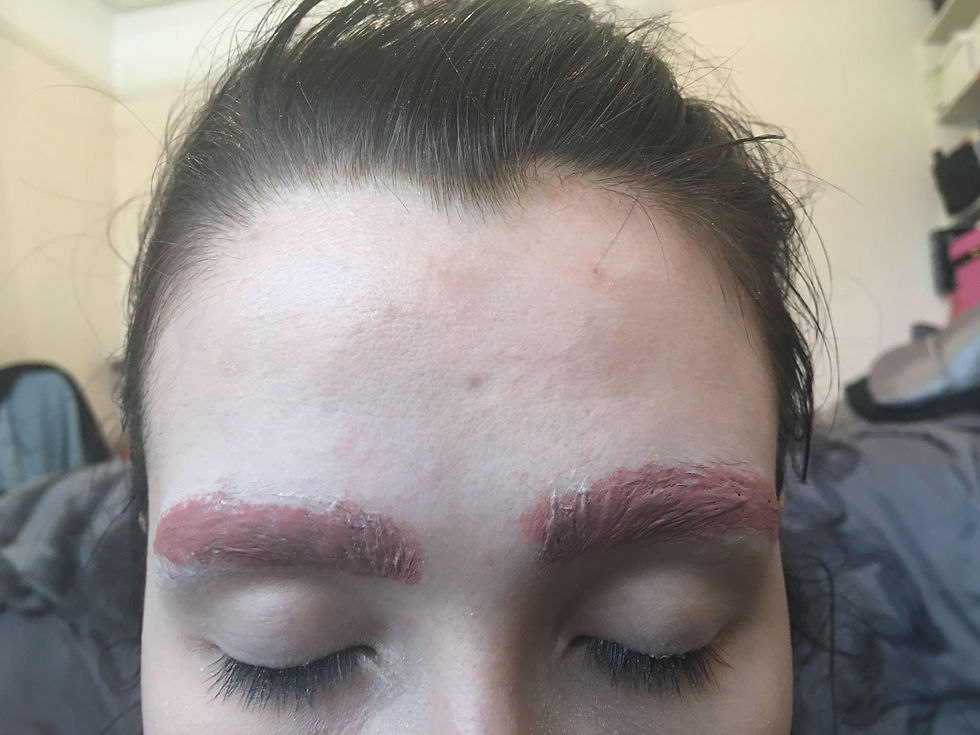
I then covered the wax with D32 from the concealer palette from kryolan. These colours are thick and waxy but are great for tattoo covering, covering birthmarks and general hiding colour. The orange red colour counteracts the natural colour of the brows to remove any shadow.
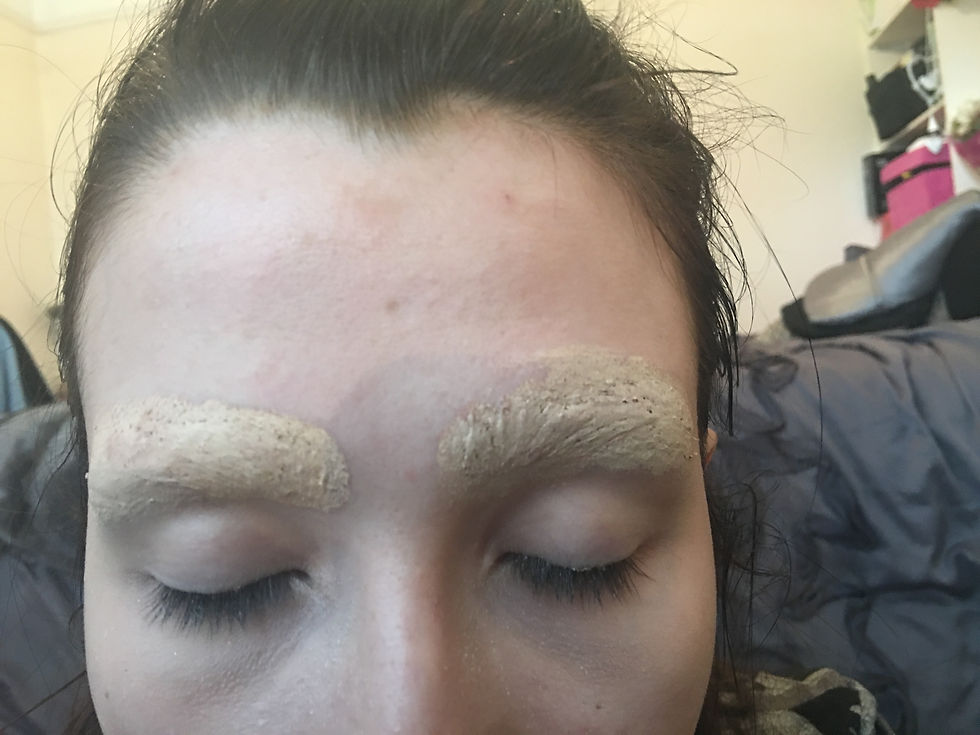
I set the first colour with the neutral set from Ben Nye and proceeded to add colour D1 from the same kryolan palette, I was slightly dissapointed with this as it seemed too thick to apply and did ruin the wax. Instead I will apply a small amount of this but then apply foundation over the top which will glide on over it.
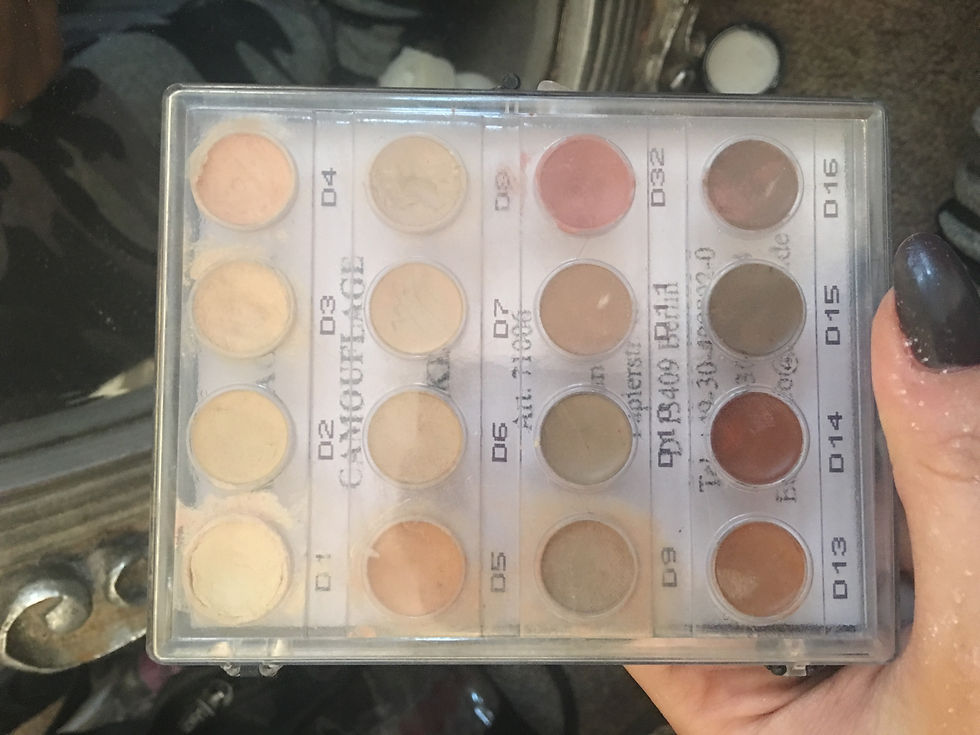
Here is the kryolan concealer palette that can be used for tattoo covering. I use this to conceal brows because the colours contradict the shadows of the brows and trick the eye into not seeing the shadows created by the eyebrow hairs.
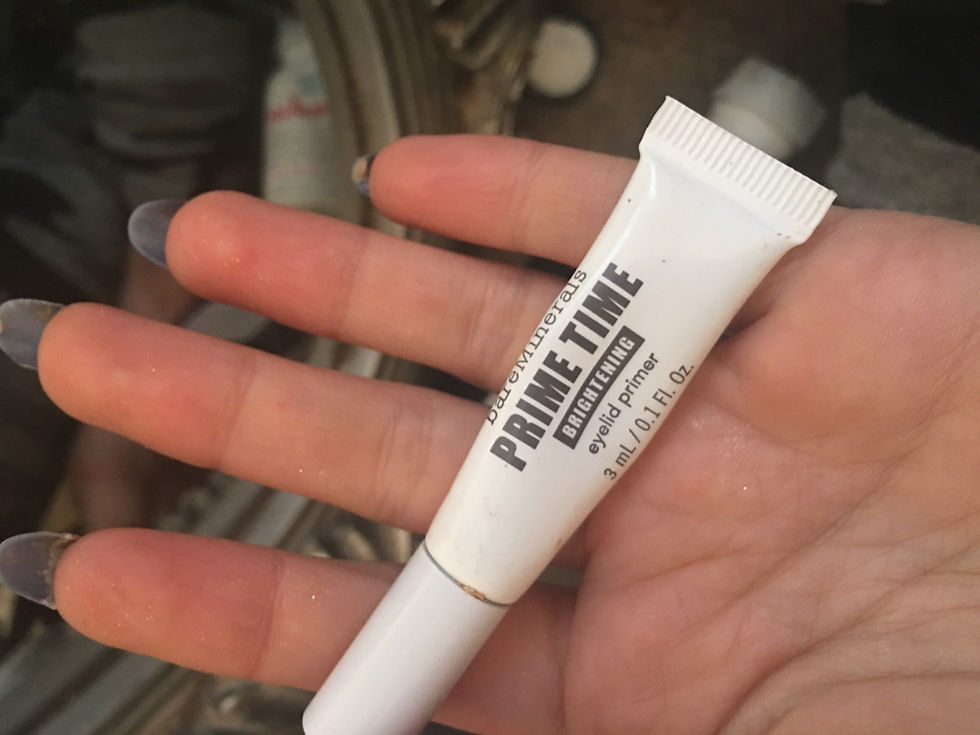
I use this eye primer over the whole eyelid and up over the blocked brows. I will do this if I choose to use blocked out brows for the shoot as it gives a great base to work over.
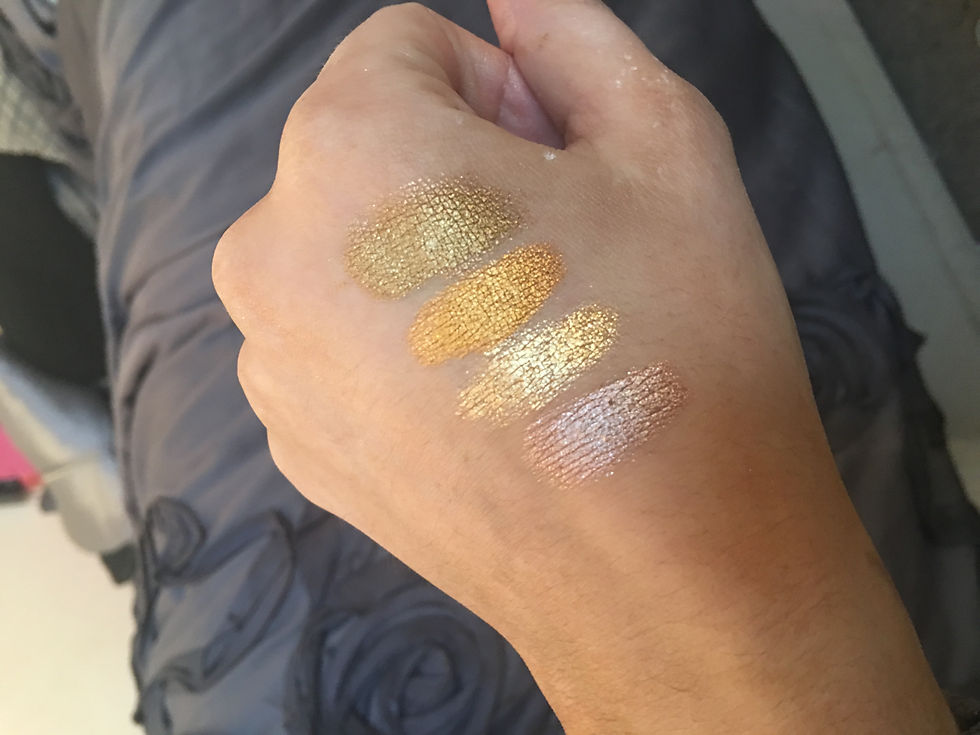
These are the four colours I was choosing between for the base of the eye on the champagne look. The third colour is the most champagne appearing colour out of all four so I tested it over the primer base I just put on.
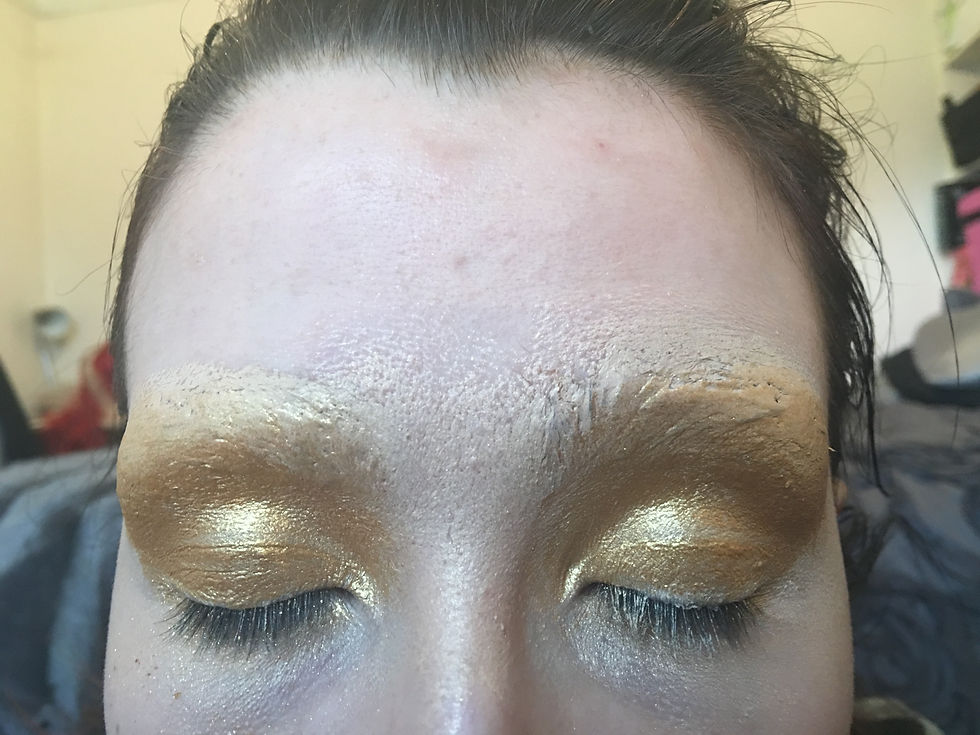
This is the naked cosmetics champagne colour pigment I previously chose. I wanted to test it as a base to see what it would be like for the look. I definitely like it as a base and think it could work well. I just want to test using eyebrows for the look first but if I decide to go for blocked out brows I will definitely use this as it creates a nice highlight over the brow.
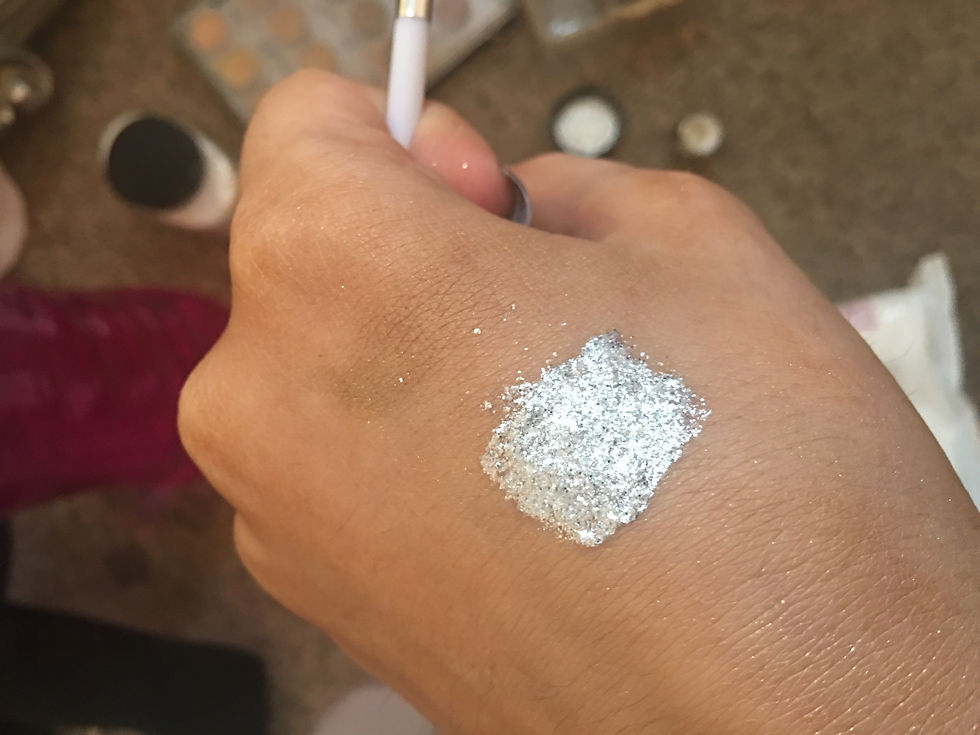
This is the silver glitter pigment I bought from Barry M. I had tried a few and researched a few different ones but the swatches online showed how pigmented this was. This image is my own swatch of the pigment wet and the colour is definitely pigmented well.
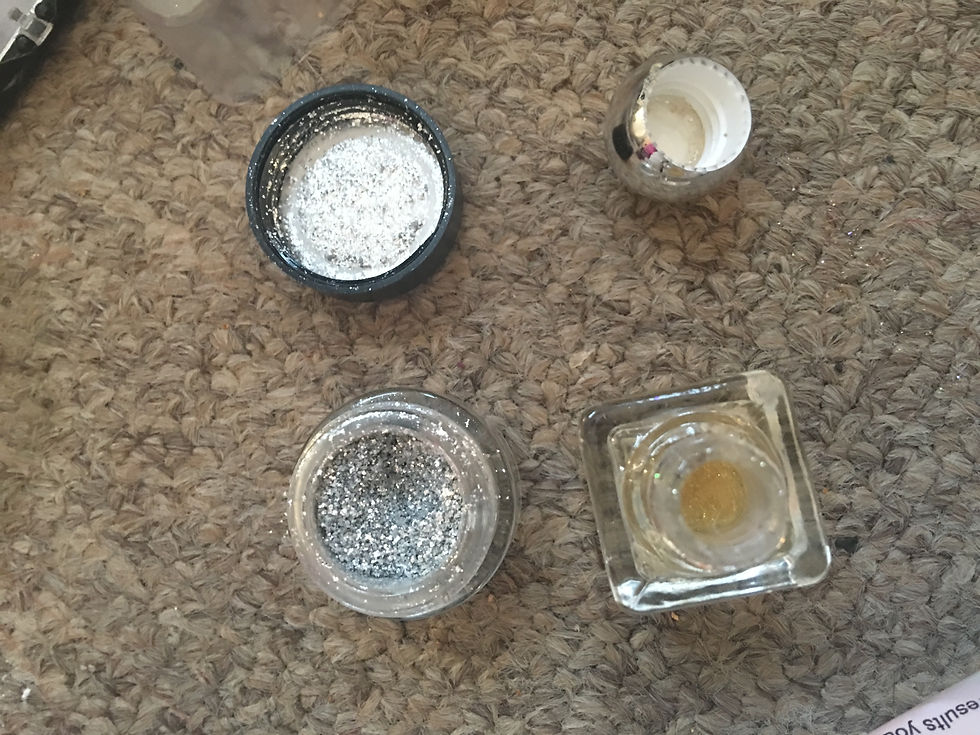
I used the oil from my lit cosmetics glitter to apply the silver pigment and it stayed a while on the skin.
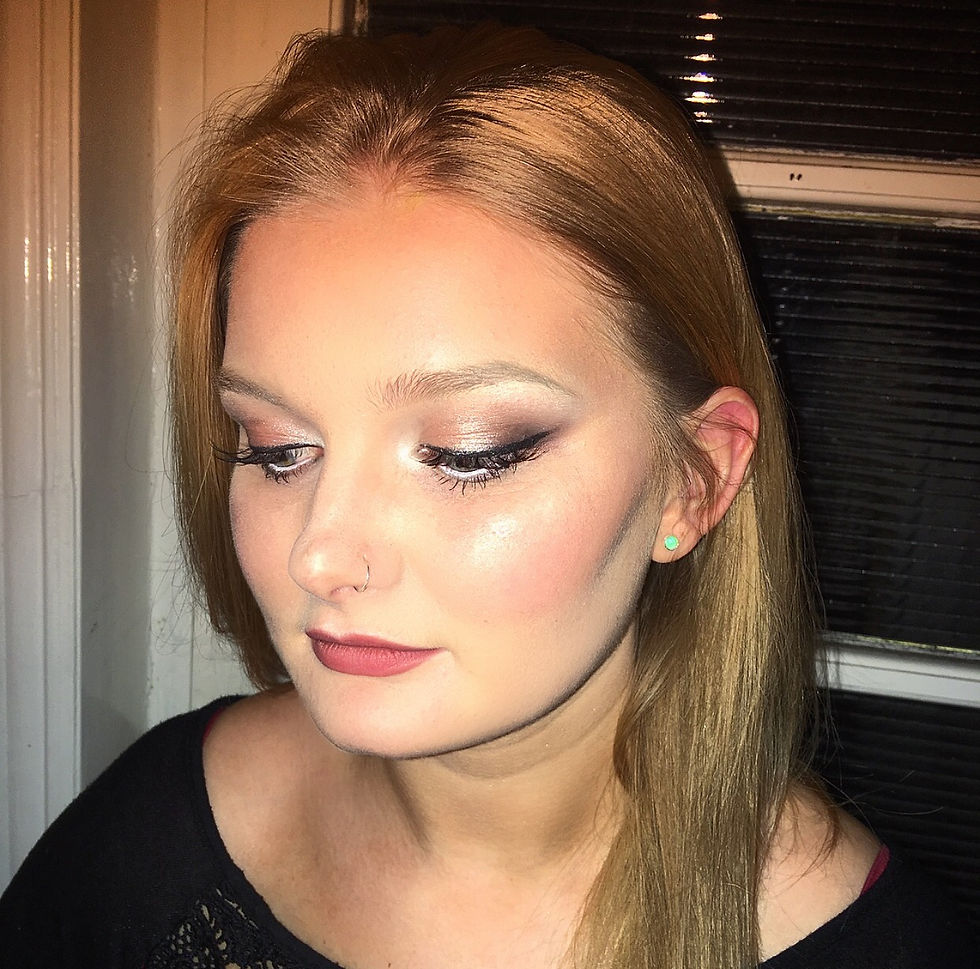
I wanted to try some beauty looks so that I could get the base and contouring good so I could apply this to my looks.
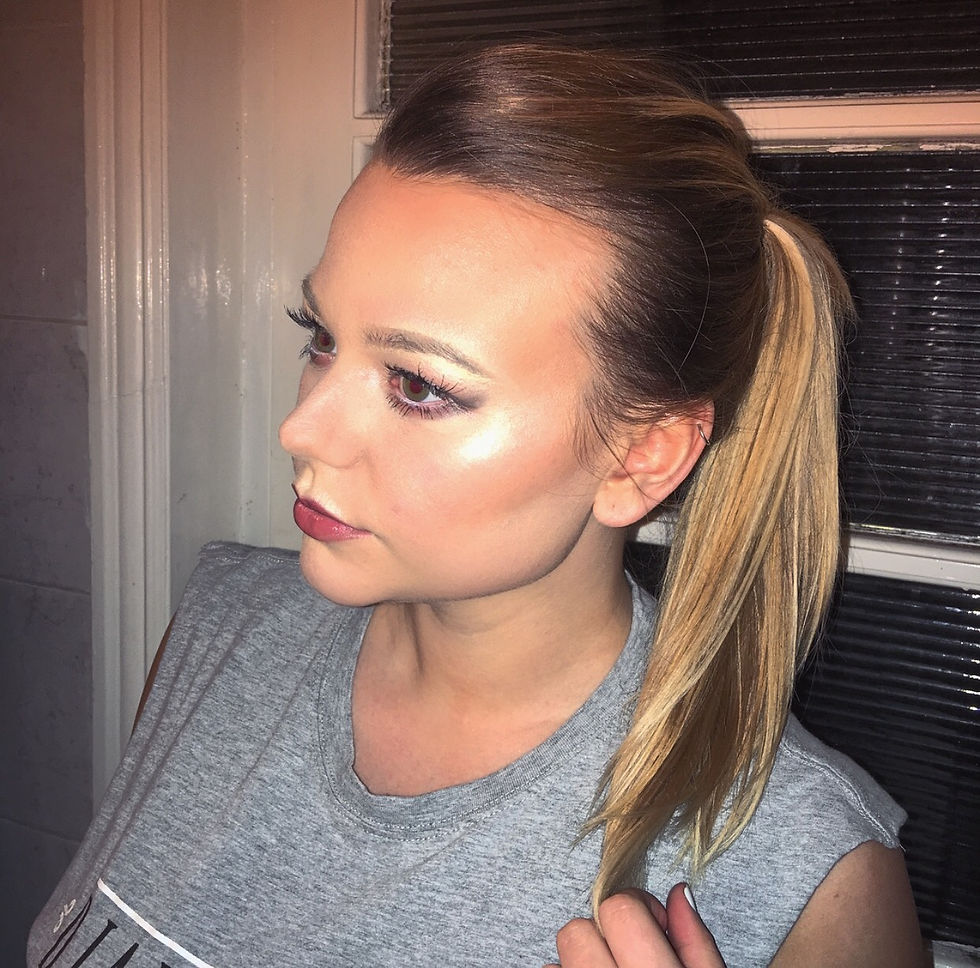
On both faces I used: Mac prep and prime skin base visage. Mac studio fix foundation. Make-up International foundation palette in brown- to contour. Mac prep and prime highlighter in light boost. Mua pressed powder bronzer. Make-up international blush palette. Revolution highlighter in gold flakes. Ben Nye neutral setting powder.

It is all about focusing on the persons face shape and enhancing their features to the fullest. I was happy testing these bases and over the three years I have worked on many faces which is so valuable for being able to adjust make up to suit individual needs. My make-up application skills have definitely advanced from level 4 &5.

Here I tested using chunky glitters. I created a base of silver naked cosmetics pigment colour to give the initial silver metallic base.

I then applied eyelash glue to the eyelid and pressed glitter onto the lid. It looked great when the eyes were closed however it was not very comfortable when the eyes were open and did feel extremely heavy. I decided not to use the glitter but to find a product just as glittery hence how I found the barry M pigment because my model would have to pose in this make up and the most distracting thing for her would be to be uncomfortable in the make-up and unable to move her eyes much.

This is the gold testing of the same technique. This colour for me appeared too gold I was looking for a more champagne colour which is why I found lit cosmetics as they sold a champagne colour glitter.