Make-Up Exploration
Georgie Kennett
Fiberglassing


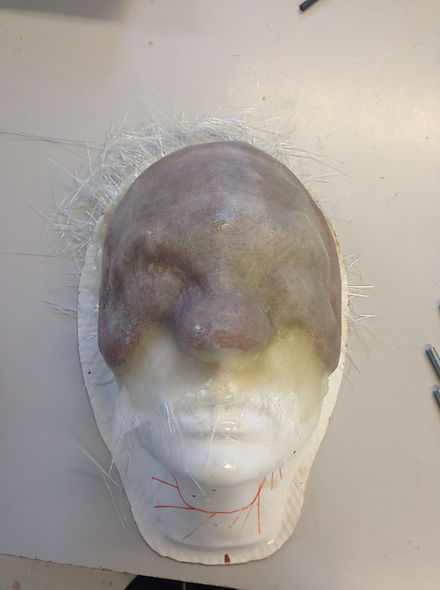
The picture above shows the vac form generic face before being sculpted onto. The lines on the face are guidlines to follow in order to create a successful fiberglass.
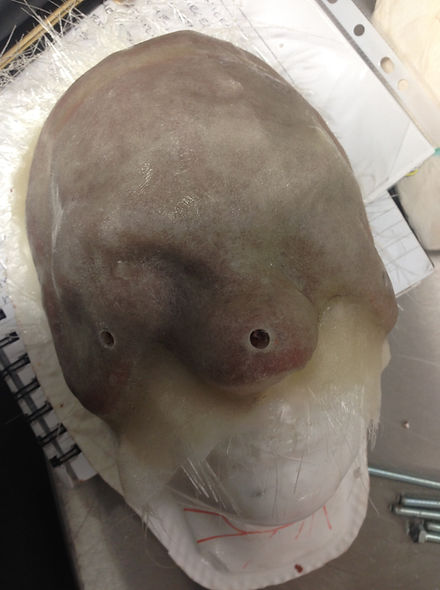
The fine surface tissue also known as veil is shown in the image above, this is applied as the final layer of fiberglass to neaten up the mould to create a smooth texture.
This image shows the work space set up with everything required to make the fiberglass mould. Mould release should be applied over the entire face then talc should be applied over the top. The talc helps the resin sit on the surface during moulding.
Lay up resin mixed with 2% catalyst us used to apply the chopped strand matting. The lay up resin is brushed onto the small bits of material before it is applied onto the sculpt so that the fiberglass is coated both sides to break up the starch. The fiberhlass must be pushed down onto the face with the brush to remove any bubbles and form a neater shape.
The fiberglass takes around 3-5 weeks to fully cure however the mould can be ready in 2-3 hours.
The picture above shows the final layer that is applied in the form of the fine surface tissue, known as the veil layer this creates a smooth finish on the surface. The veil layer is applyed also with the lay up resin mixture.
The process is repeated so the mould has two layers of fiberglass. For larger pieces three layers can be used. The picture above shows the air being pushed out of the pieces by using firm stippling.


The picture above shows the fiberglass of my sculpt using two layers of chopped strand matting and one veil layer.
The next stage is to drill the mould in the touch down points so that the mould can be clamped together when it is run with material such as silicone or geletine.
Above I am drilling holes into the mould so the screws can be fitted. The drill must be held in a stright angle down into the touch down points so the screws can be pushed into the fiberglass easily.
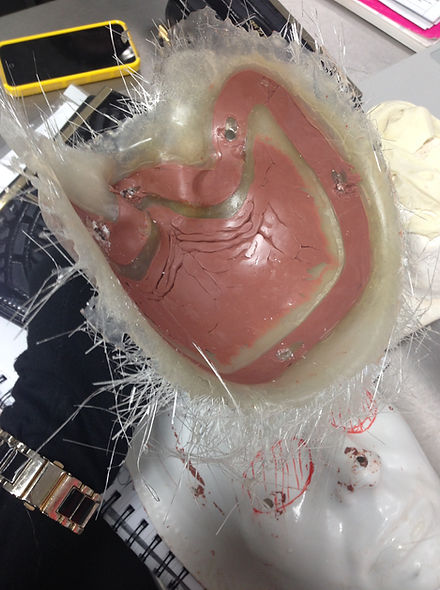
The picture above shows the piece from the inside once the fiberglass had been removed from the vac form face. The clay inside must be removed from the mould but first the piece must be cut with a vibrasaw to remove the sharp fiberglass edges and to tidy up the mould.
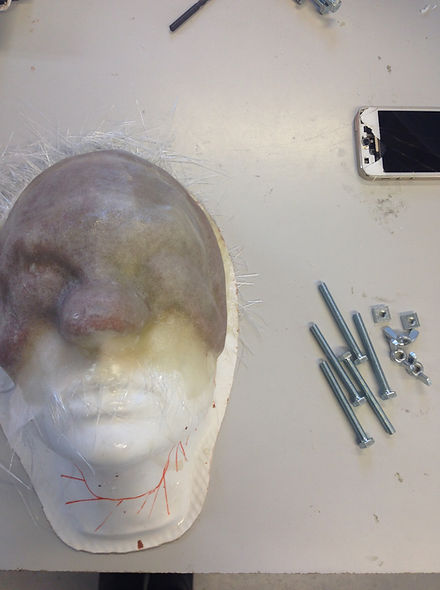
Here is the fiberglass mould once the holes had been drilled into the touch down points, in total in this mould there was five holes drilled.
The dill bit used was size 6 and the nuts and bolts were also number 6. What eveer drill bit used the nuts and bolts must be the same size or they will either not hold the mould together or will not fit into the holes that have been drilled.


The mould is left in a bowl so that any escaping silicone does not run over the table. The silicone takes around 1-2 hours to dry in the mould depending on the size and depth of the piece.
The picture above shows the cuts and bolts being tightened after the silicone has been injected into the mould, this allows a thin edge to be created.
The picture above show the silicone being injected into the mould once layers of cap plastic mixed with alcohol have been applied with a brush onto both moulds to incapsulate the silicone.
The image above shows the chopped strand matting created with strands of glass bound together with starch. This makes up the majority of the fiberglass layers.

Above is the silicone prosthetic piece I run in my fiberglass mould made from my sculpt. The piece was relitively successfull, some areas of the piece needed to be thinner but this is down to the mould not being tightened enough after the silicone was injected in.